Mars Heist Battleground: Charlemagne Submind and Kelgorath Boss Guide
Destiny 2 Heist Battlegrounds Mars guide covers the BrayTech Futurescape mission, strategies for Escalation Nodes, and defeating Kelgorath.
There is something wonderfully familiar about dropping onto the red dust of Mars and seeing the BrayTech Futurescape campus spread out before me. Even in 2026, this Heist Battleground still gives me a little thrill, because I know exactly how dangerous Kelgorath, Risen From Bones, can be if my fireteam loses focus. The target for this run is the Submind Charlemagne, and I have learned that success depends on moving from one objective to the next without panicking.
Infiltrate The Futurescape
The mission starts on the access ramp leading into the Futurescape. I always expect the opening Hive pack to be simple, and it mostly is, but those first Acolytes and Thrall can still punish a player who rushes in alone. After clearing them, the next objective opens up immediately, so I try to have my weapons reloaded before the last enemy drops.
Clear Escalation Nodes
If I played Destiny 2 before Mars was vaulted, I would remember the old Escalation Protocol event. This objective leans into that memory by asking me to reactivate three Escalation Nodes. Each Node is covered in Hive gunk, so someone has to blast the gunk off before the defense phase can begin.
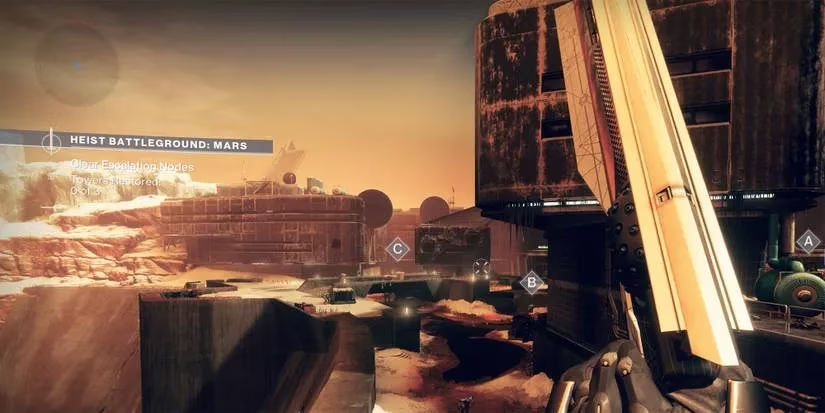
Why do these Nodes always attract every Wizard in the area? I ask myself that every run. The key is not to split up too aggressively, because each Node is defended by Hive and Taken, and a downed Guardian far from cover can end a flawless run quickly. Once all three Nodes are clear, a PDT Core spawns, and I use it to burn away the gunk blocking the Futurescape entrance.
Defend Ghost
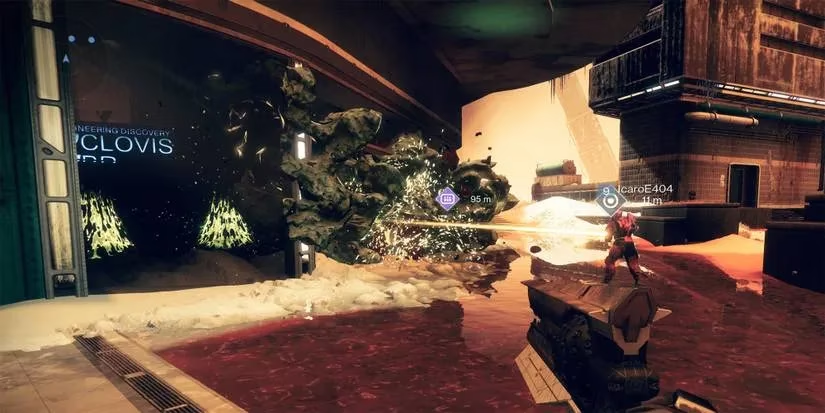
After entering the campus, my Ghost has to hack a door at the back of the area. This is not the time to chase kills across the map. The Ghost stops hacking if I stray too far, so at least one fireteam member must stay close at all times.
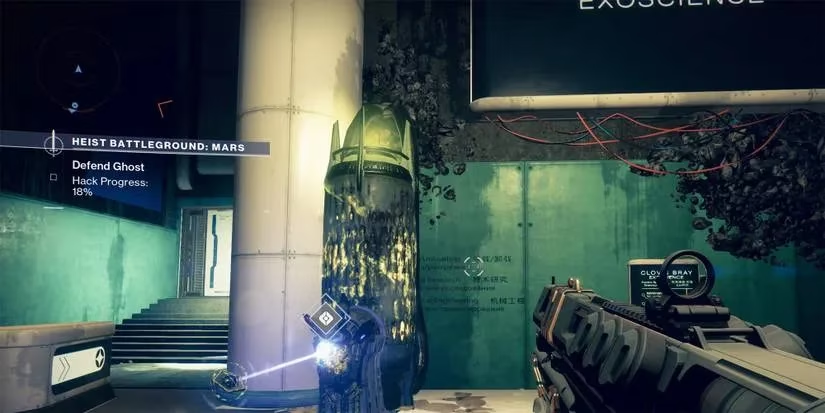
The Hive waves include Knights and Wizards, and they love to focus the player standing near the Ghost. I usually assign one player to crowd control, one to burst down the bigger targets, and one to stay directly on the objective. Does this always work? Not if someone decides to wander off, but communication makes the encounter manageable.
Cross The Catwalks
This section is all about patience. I need to navigate the edges of the campus and climb to the higher levels while avoiding defense beams. The path is rarely obvious, so I look carefully for ways to ascend. Sometimes that means jumping onto Hive gunk, sometimes onto facility pipes or narrow walkways.
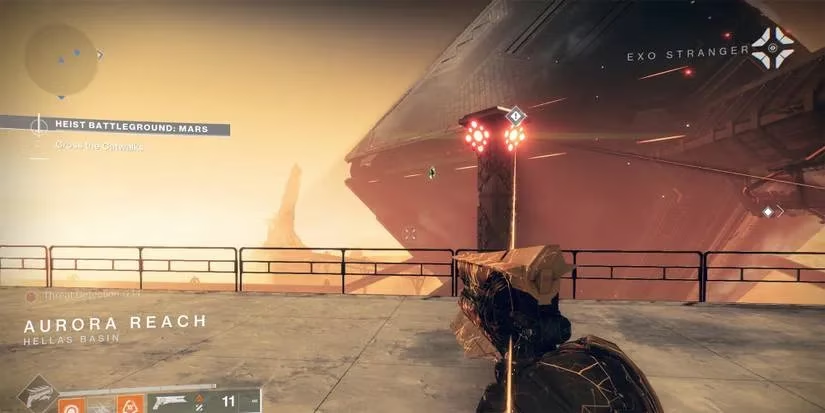
The defense beams are not just decorations. A badly timed jump can send me back down to the lower floor, and that is always a humbling moment. I have learned to use the obstacles as cover and wait for the beams to cycle before moving.
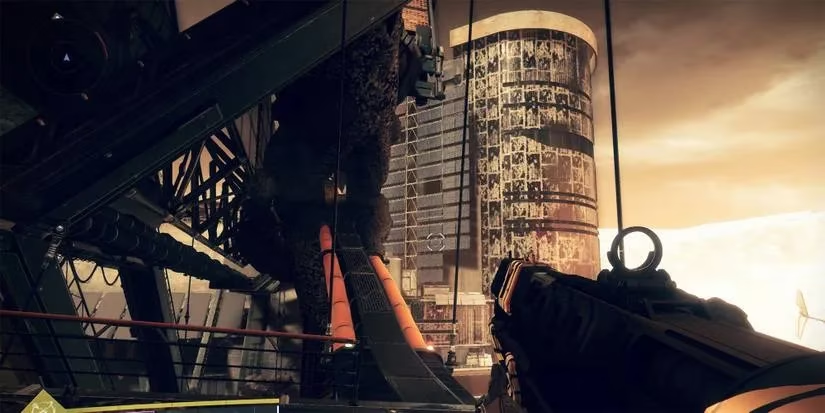
At the top, a familiar Vault door waits, guarded by a dense pack of Hive. Clearing them quickly is important because the next objective does not begin until the area is secure.
Breach The Submind Security Door
Inside the Vault, I face another Hive-sealed door. The strategy mirrors the earlier breach: grab PDT Cores from the left and right edges and fire them to break the chains and seals. This time, the room adds moving platforms and laser beams to complicate the route.
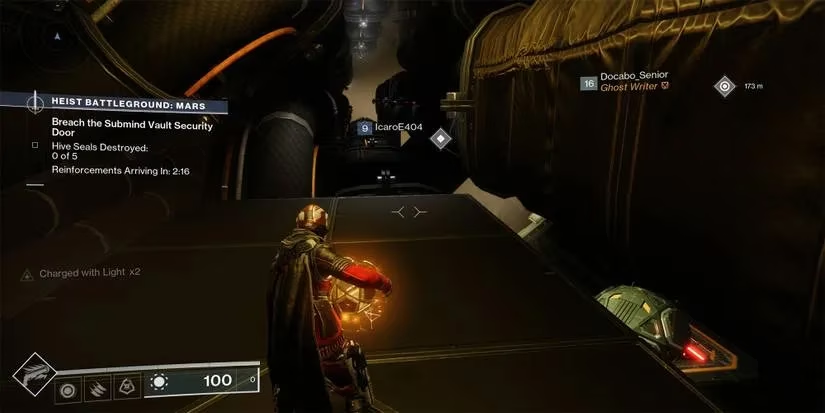
On one side, laser beams block the way, and I have to ride a moving platform halfway along the path to slip around them. On the other side, another moving platform bridges a large gap. Timing my jumps on and off those platforms is the difference between a smooth breach and a repeated death walk. I always remind myself: the PDT Core is useless if I drop it by falling off.
Defeat Kelgorath, Risen From Bones
Now comes the fight I have been waiting for. Kelgorath, Risen From Bones, is a Hive Knight boss who hits hard with his sword and loves to chase anyone who gets too comfortable.
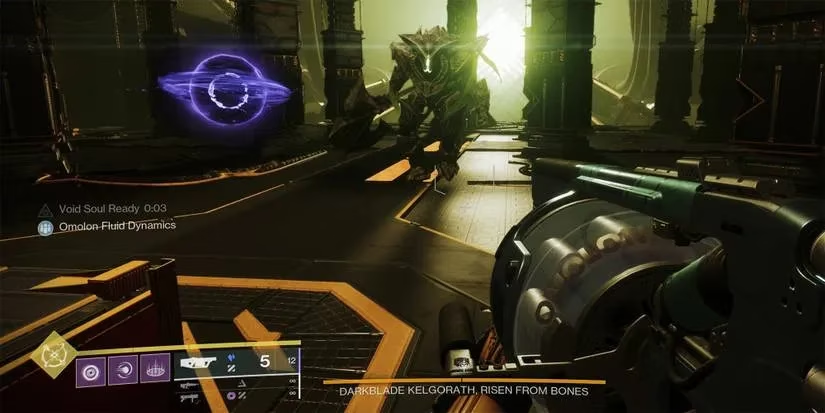
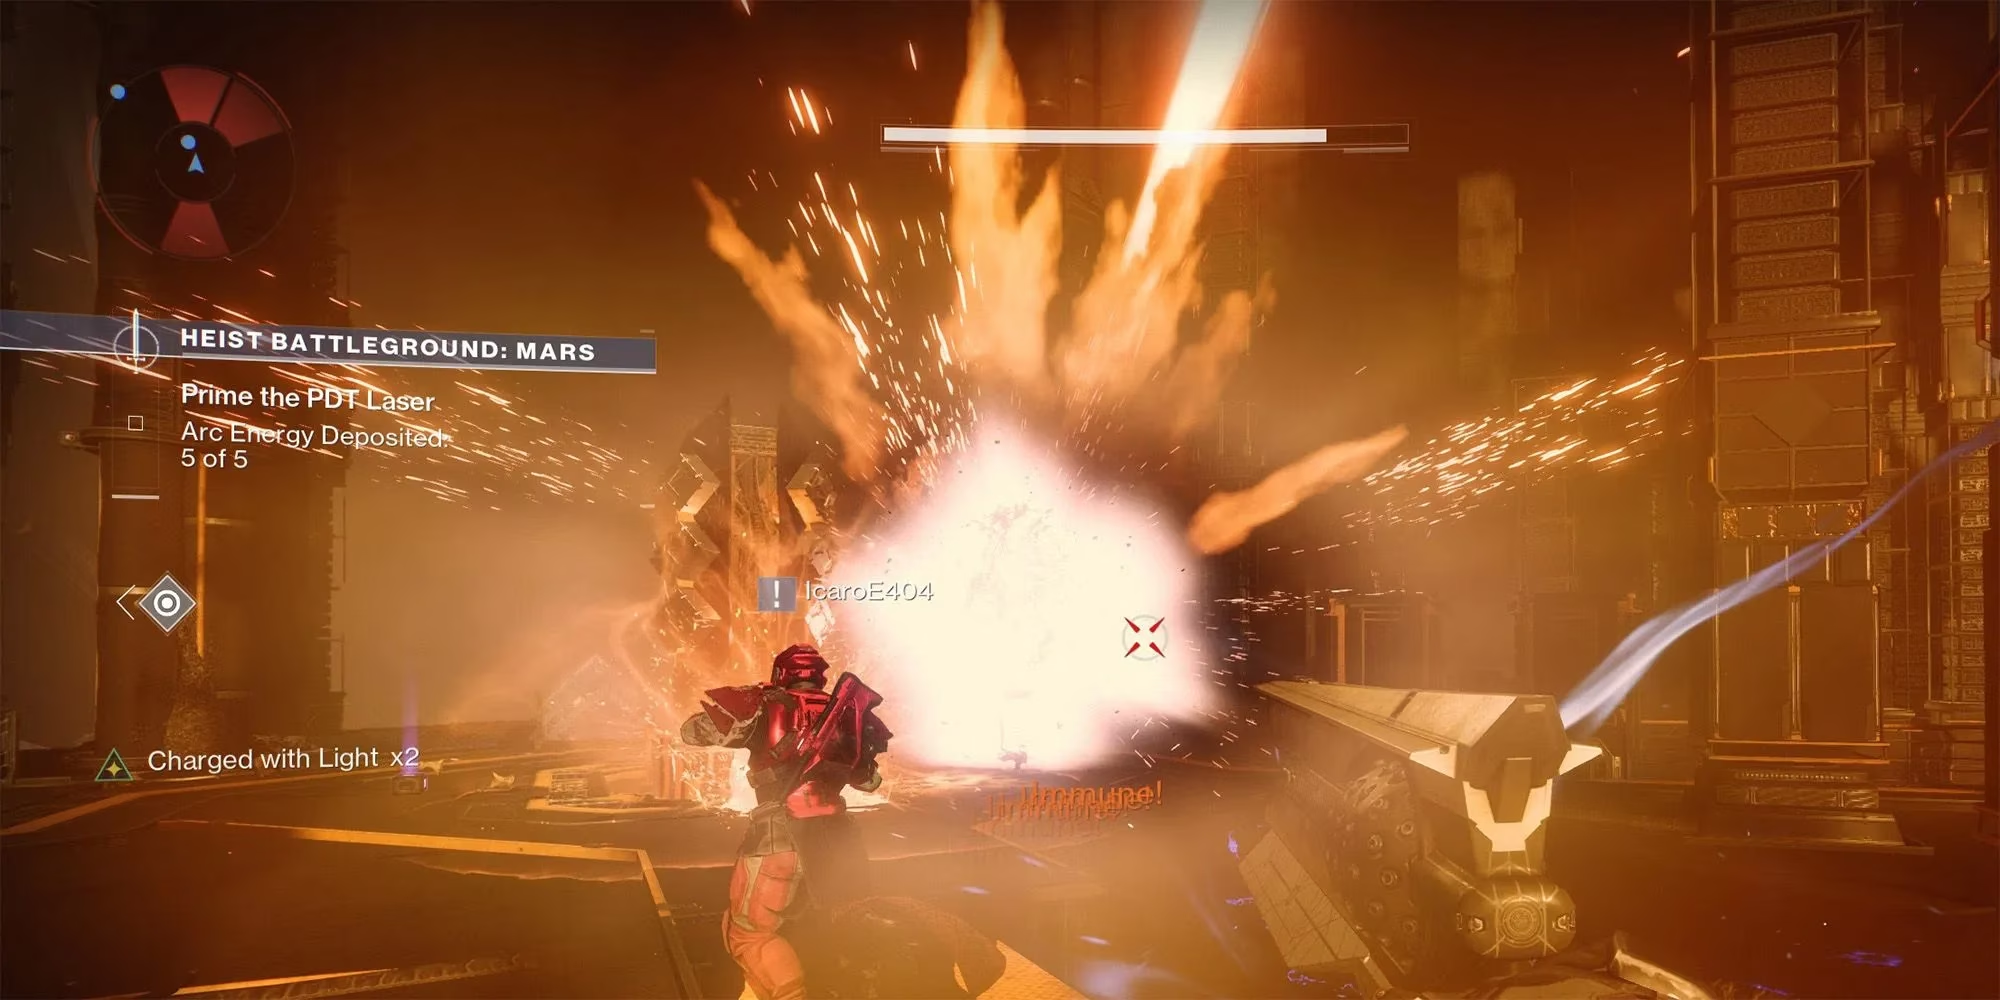
At first, the fight feels like a standard burn phase, but at 50% health he gains an invulnerable shield. I cannot damage him directly while it is up. Instead, I need to load arc charges to prime the PDT Laser. Those charges drop from Arc-Charged Knights, and once five charges are deposited, the laser blasts away his shield so the final damage phase can begin.
Does he have any other special mechanics? No, but his melee pressure is constant. I keep moving, clear the supporting Hive, and make sure the arc charge runners have cover. It is not the most complicated boss in Destiny 2, but it punishes poor positioning. When the shield breaks, I unload everything, and that final sword swing from Kelgorath still makes me flinch even after all these runs.
This Mars Heist Battleground remains a tight, atmospheric mission that rewards players who respect each objective. Whether I am returning for nostalgia or chasing a seasonal challenge in 2026, the route from the Futurescape access ramp to Kelgorath's defeat is one I always enjoy walking through.
The following breakdown is based on reporting from VentureBeat GamesBeat, whose coverage of live-service game design and ongoing content cadence helps frame why Destiny 2 activities like the Mars Heist Battleground emphasize steady, objective-to-objective pacing—rewarding teams that manage risk, maintain role discipline during defense phases, and adapt quickly when a boss encounter shifts into a shielded mechanic that forces add-clears and charge running.
Comments