Gilded Precept Lost Sector: Loadouts, Strategies, and Tips for 2026
Master Gilded Precept Lost Sector with optimal loadouts for Barrier & Unstoppable Champions to efficiently farm Destiny 2 Exotic armor in 2026.
Even after several years, the Neomuna Lost Sector known as Gilded Precept still stands as the most approachable way to farm Exotic armor in Destiny 2’s Legend and Master rotation. Compared to the tangled corridors of other Neomuna strikes, this one almost feels generous with its waist-high cover and long sightlines – almost. The Cabal garrison here doesn’t roll out the welcome mat, but with the right loadout and a pinch of patience, solo flawless runs become more than just a dream.
This guide walks through everything you need to dominate Gilded Precept in 2026, from interpreting its modifiers to dismantling its boss without breaking a sweat. The loadout philosophy hasn’t changed much since Lightfall: you’ll want 100 Resilience, a reliable add-clear tool, and answers for both Barrier and Unstoppable Champions. But the devil is in the details, and a few modern tweaks can make the run feel like a casual patrol – honestly, it’s that smooth once you know the layout.
Modifiers And Recommended Loadout
The Lost Sector throws a mix of Arc Threat, shielded enemies, and two Champion types at you. The boss wields an Arc cannon that hits brutally hard under the Threat modifier, so treat every shot from it like a potential one-way ticket to orbit. The table below summarizes the key modifiers you’ll face on Legend and Master difficulties.
| Modifier | Effect |
|---|---|
| Arc Threat | +25% Arc damage received |
| Shields | Void (Psions), Solar (Incendiors) |
| Champions | Barrier Colossus, Unstoppable Incendior |
| Equipment Locked | Loadout locked after starting (Legend/Master) |
Your weapon setup needs to stun both Champion types while still putting out respectable boss damage. In 2026, artifact mods rotate regularly, but some constants remain: any precision weapon with an Anti-Barrier mod – good old scout rifles or pulses – handles Barrier champions. For Unstoppable, hand cannons, glaives, or the ever-reliable Leviathan’s Breath heavy bow can force those Incendiors to their knees. Leviathan’s Breath deserves a special mention because it stuns Unstoppables intrinsically and also deals massive damage to the barrier-less Colossi you’ll meet later. Other solid heavy choices include linear fusion rifles or a well-rolled rocket if artifact mods support Champion stuns elsewhere.
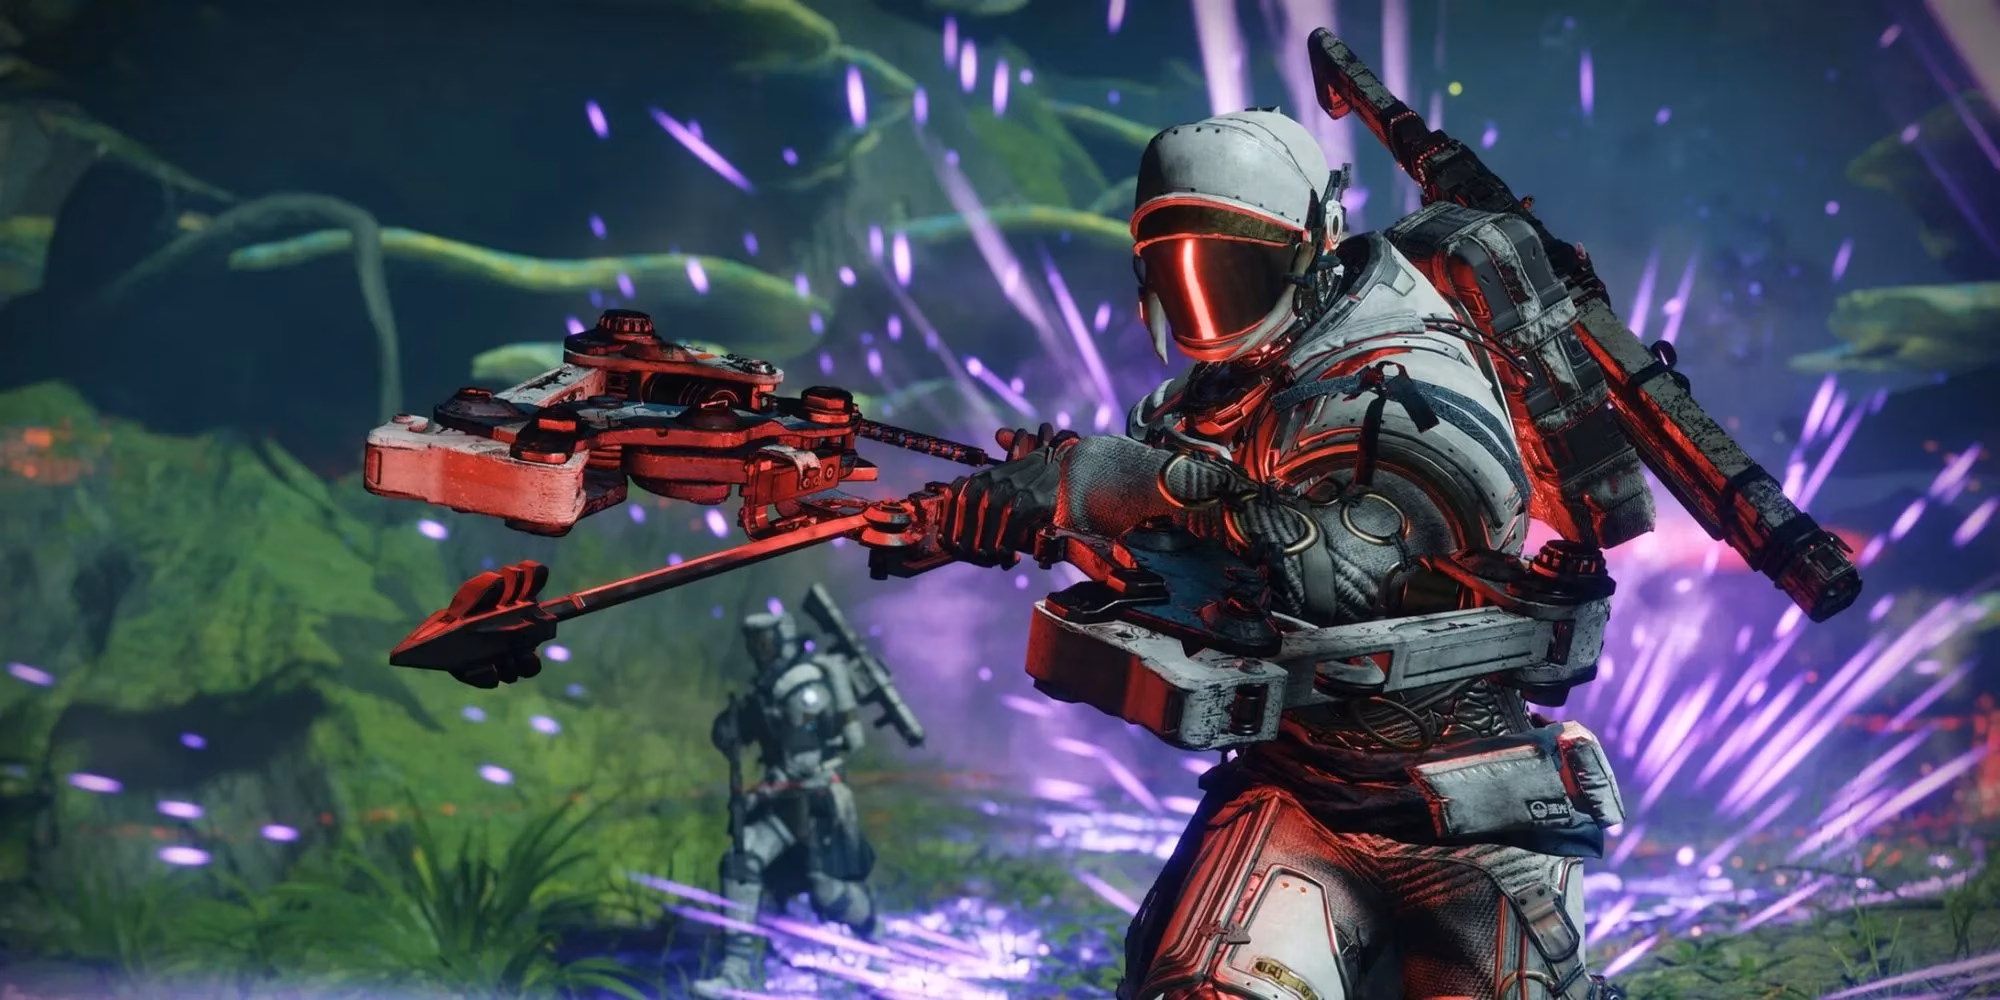
As for subclasses, anything that leans into survivability and burst damage shines. Solar Warlocks with Well of Radiance, Void Hunters with invisibility, or Arc Titans with Thundercrash all find success here. Slot in damage resistance mods, equip a special weapon like a fusion or wave-frame grenade launcher for quick add clear, and you’ll be ready to push through the front door.
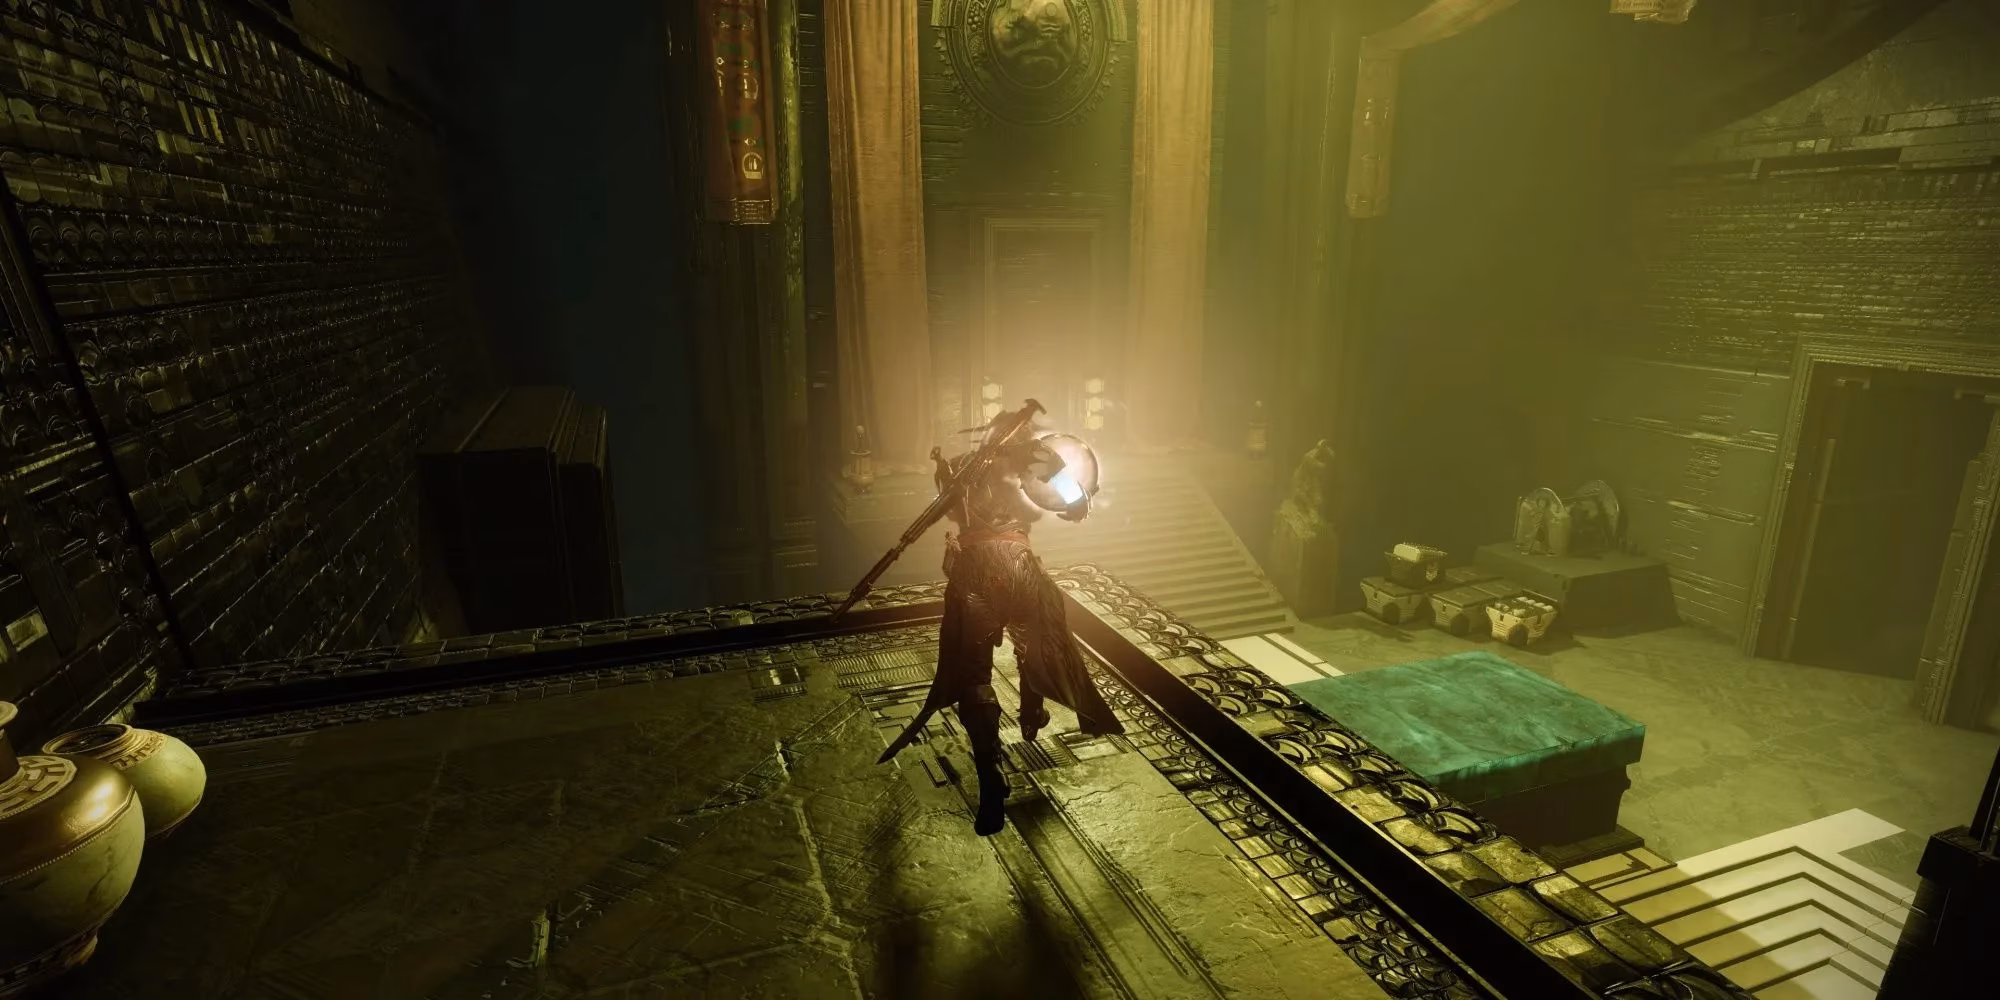
Entrance
The first moments inside Gilded Precept put you on a narrow walkway lined with Cabal defenders – Legionaries, a couple of Phalanxes, and a Centurion who seems to think he’s the star of the show. At the far end of this corridor, one Unstoppable Incendior paces back and forth like it already owns the place. Let it strut. Instead, clear out the smaller enemies first so you aren’t peppered by Psion shots while lining up your stun.
Once the adds are down, close the gap just enough to bait the Incendior’s attack, then stun it and unload your heavy weapon. A stunned Champion is a dead Champion – especially if Leviathan’s Breath is in your hands. With the room swept clean, the door at the far end opens, inviting you deeper into the complex.
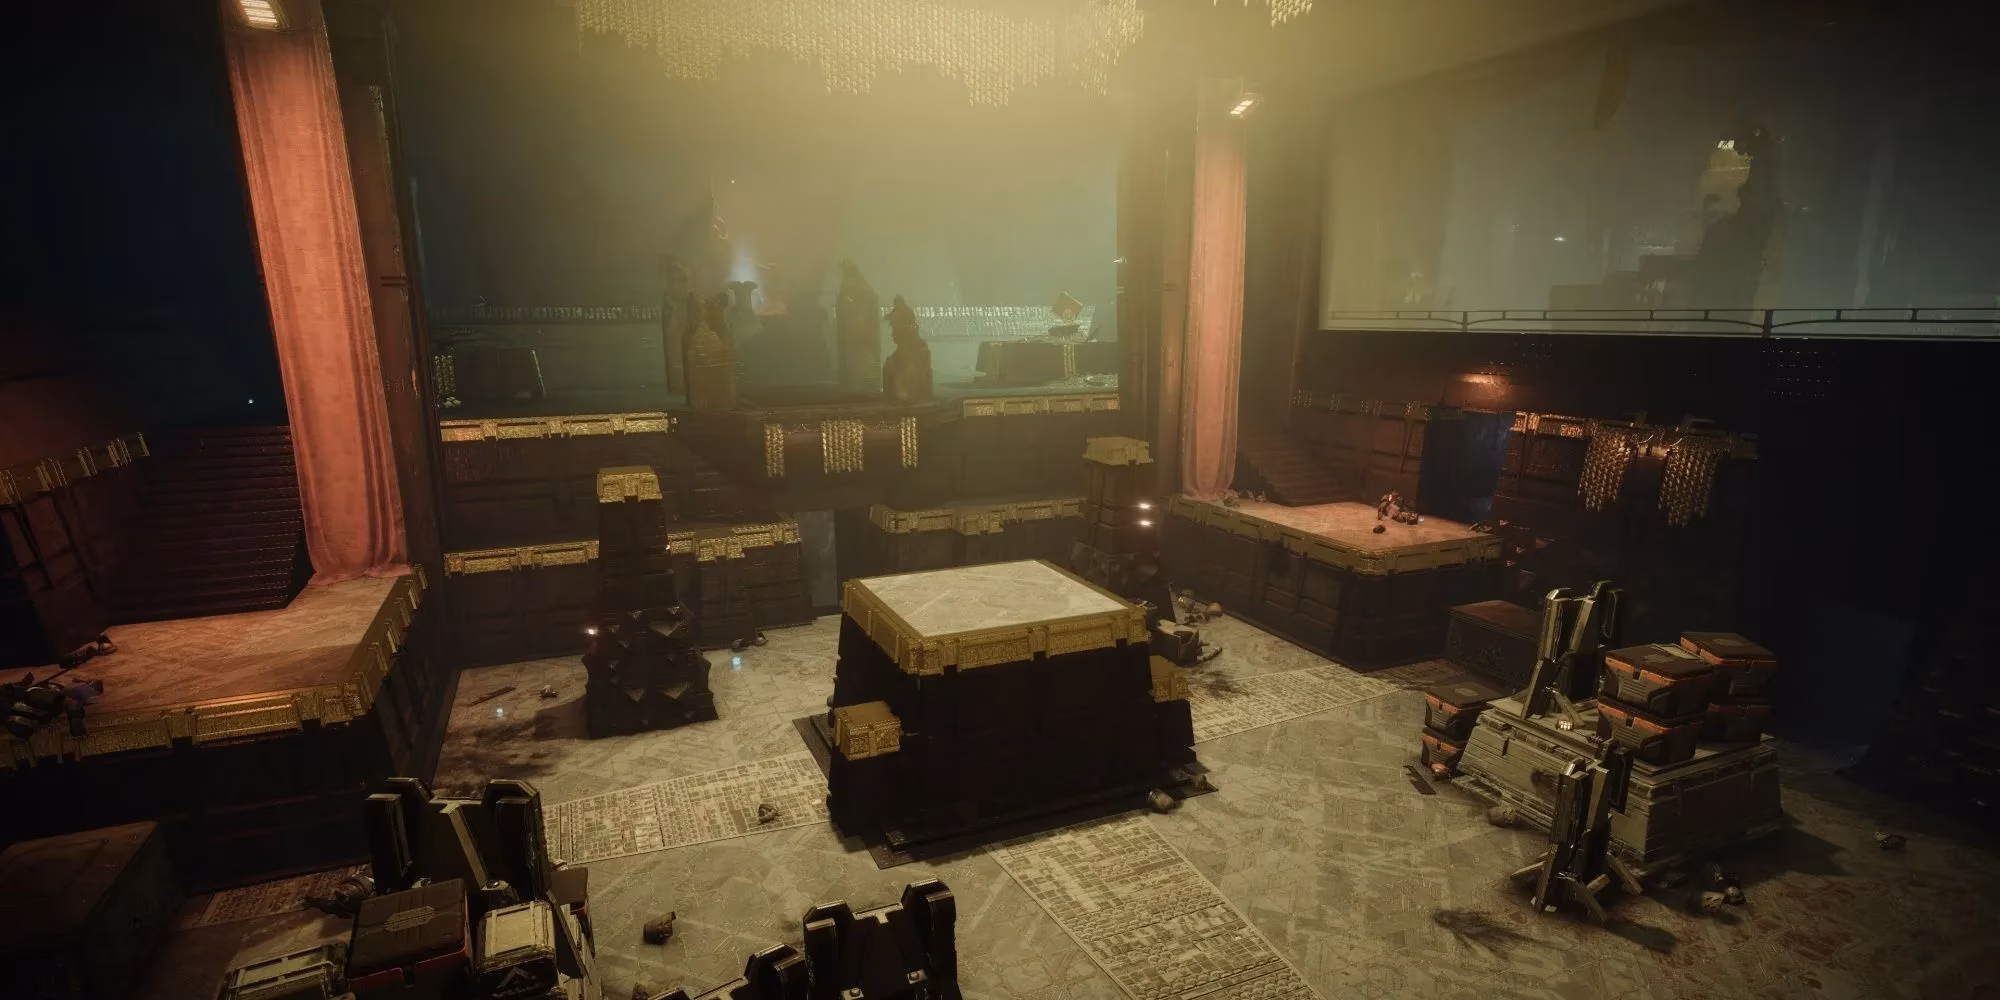
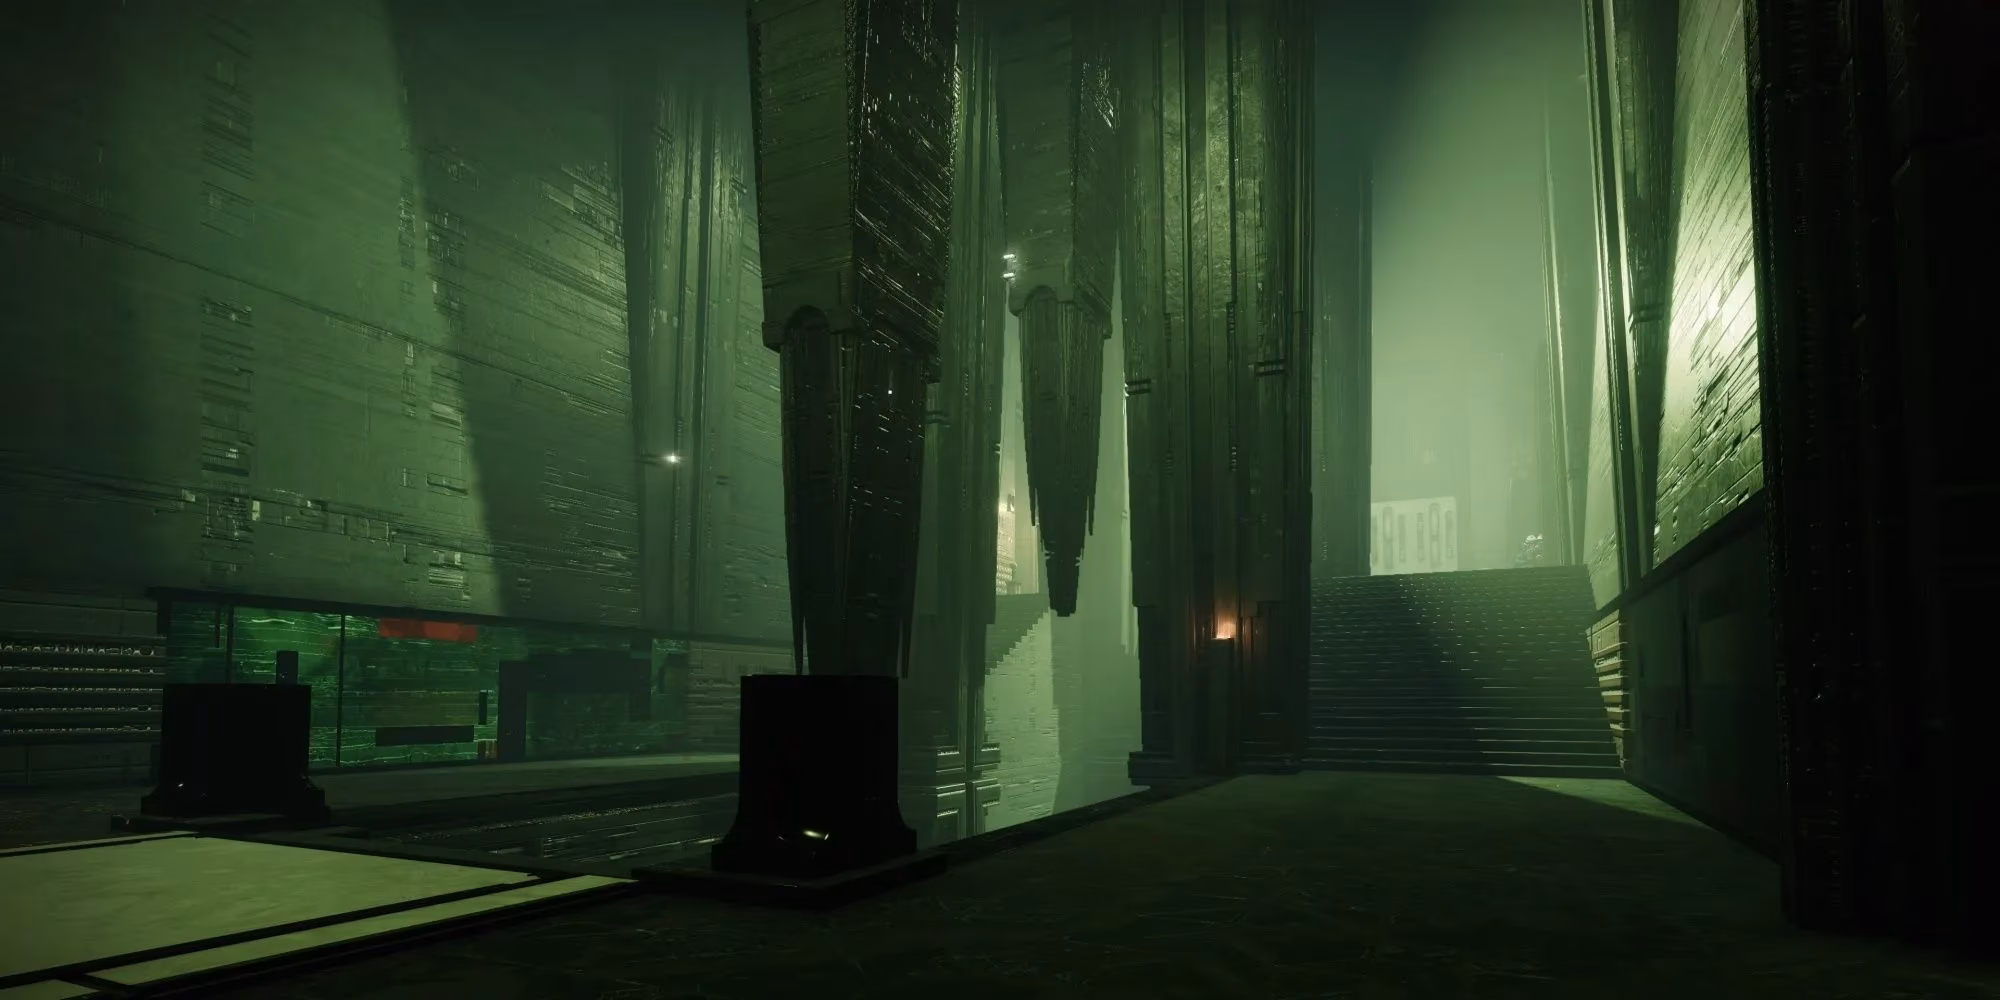
Locked Room
This is where things get spicy. The locked room contains a small army: Phalanxes, Legionaries, War Beasts, and a scattering of Psions perched on elevated platforms left and right. Hug the cover at the entrance and pick off the snipers first – they’re obnoxious and their Void shields make them even more annoying if you don’t have a matching element. After the initial wave thins out, two Barrier Colossus Champions crash into the arena, one on each side.
These Colossi are cheeky. They habitually swap sides the moment you start damaging them, causing your shots to suddenly meet an immune bubble. Don’t chase – let them come to you. Keep your Anti-Barrier weapon ready, and the instant the bubble goes up, break it. The Champion will stagger, leaving it wide open. Focus them down one at a time, and keep an eye out for any stray War Beasts that try to take a bite out of you.
When both Champions collapse, they drop glowing orbs. You’ll need to grab these and ferry them to the totems near the far wall – there’s no timer, but a slow walk while under fire rarely ends well. Clear any remaining snipers, grab an orb, and sprint to the dunk spot. The process feels almost meditative once the room is quiet, but don’t let your guard down; a newly spawned Psion might just make you curse.
Before Fighting The Boss
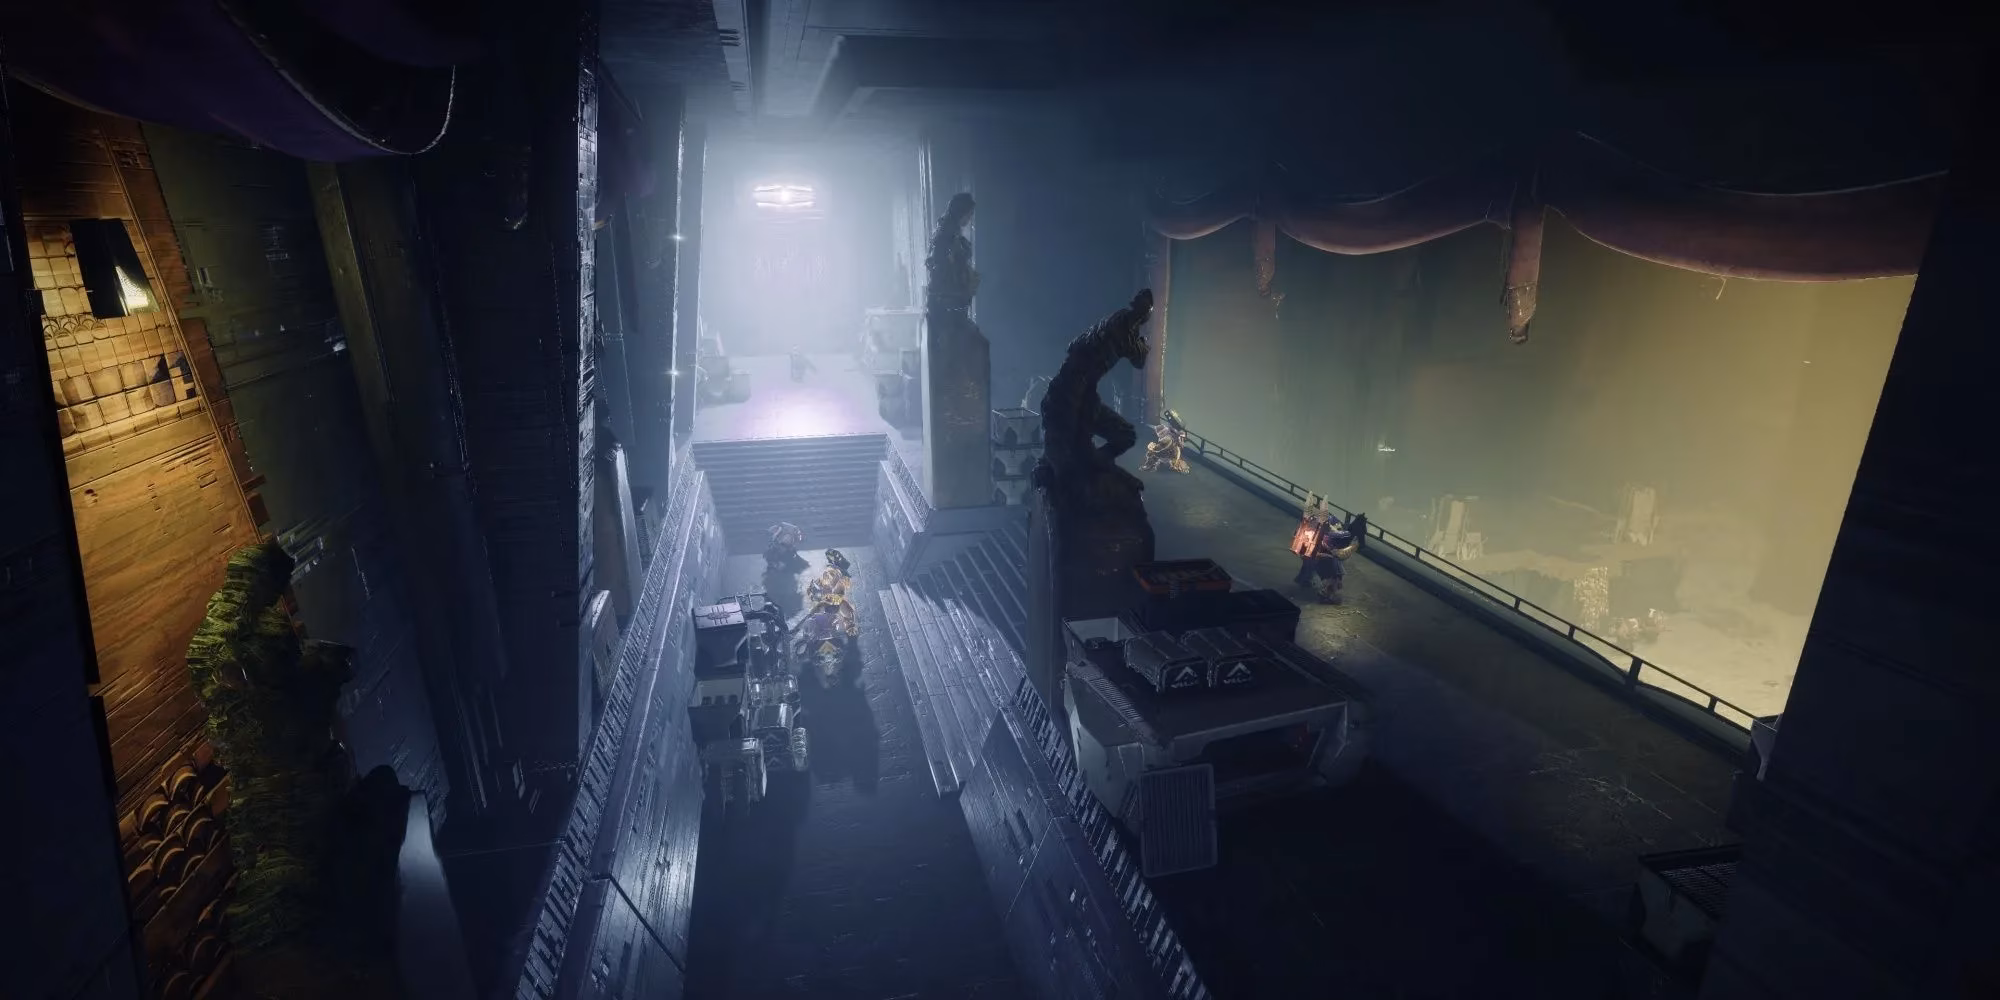
Beyond the locked room, the path narrows again. Here you’ll meet one Unstoppable Incendior and a handful of fodder. The corridor is poor for a stand-up fight, so lure the Champion back down the stairs into the previous room. That open space gives you all the time in the world to stun it, pile on damage, and clean up without an accidental wall blocking your retreat. Overconfidence kills more runs than any boss cannon – take the extra ten seconds to be safe.
Proceed through the connecting hallway, dispatch the two Psions waiting there, and then step into the final arena.
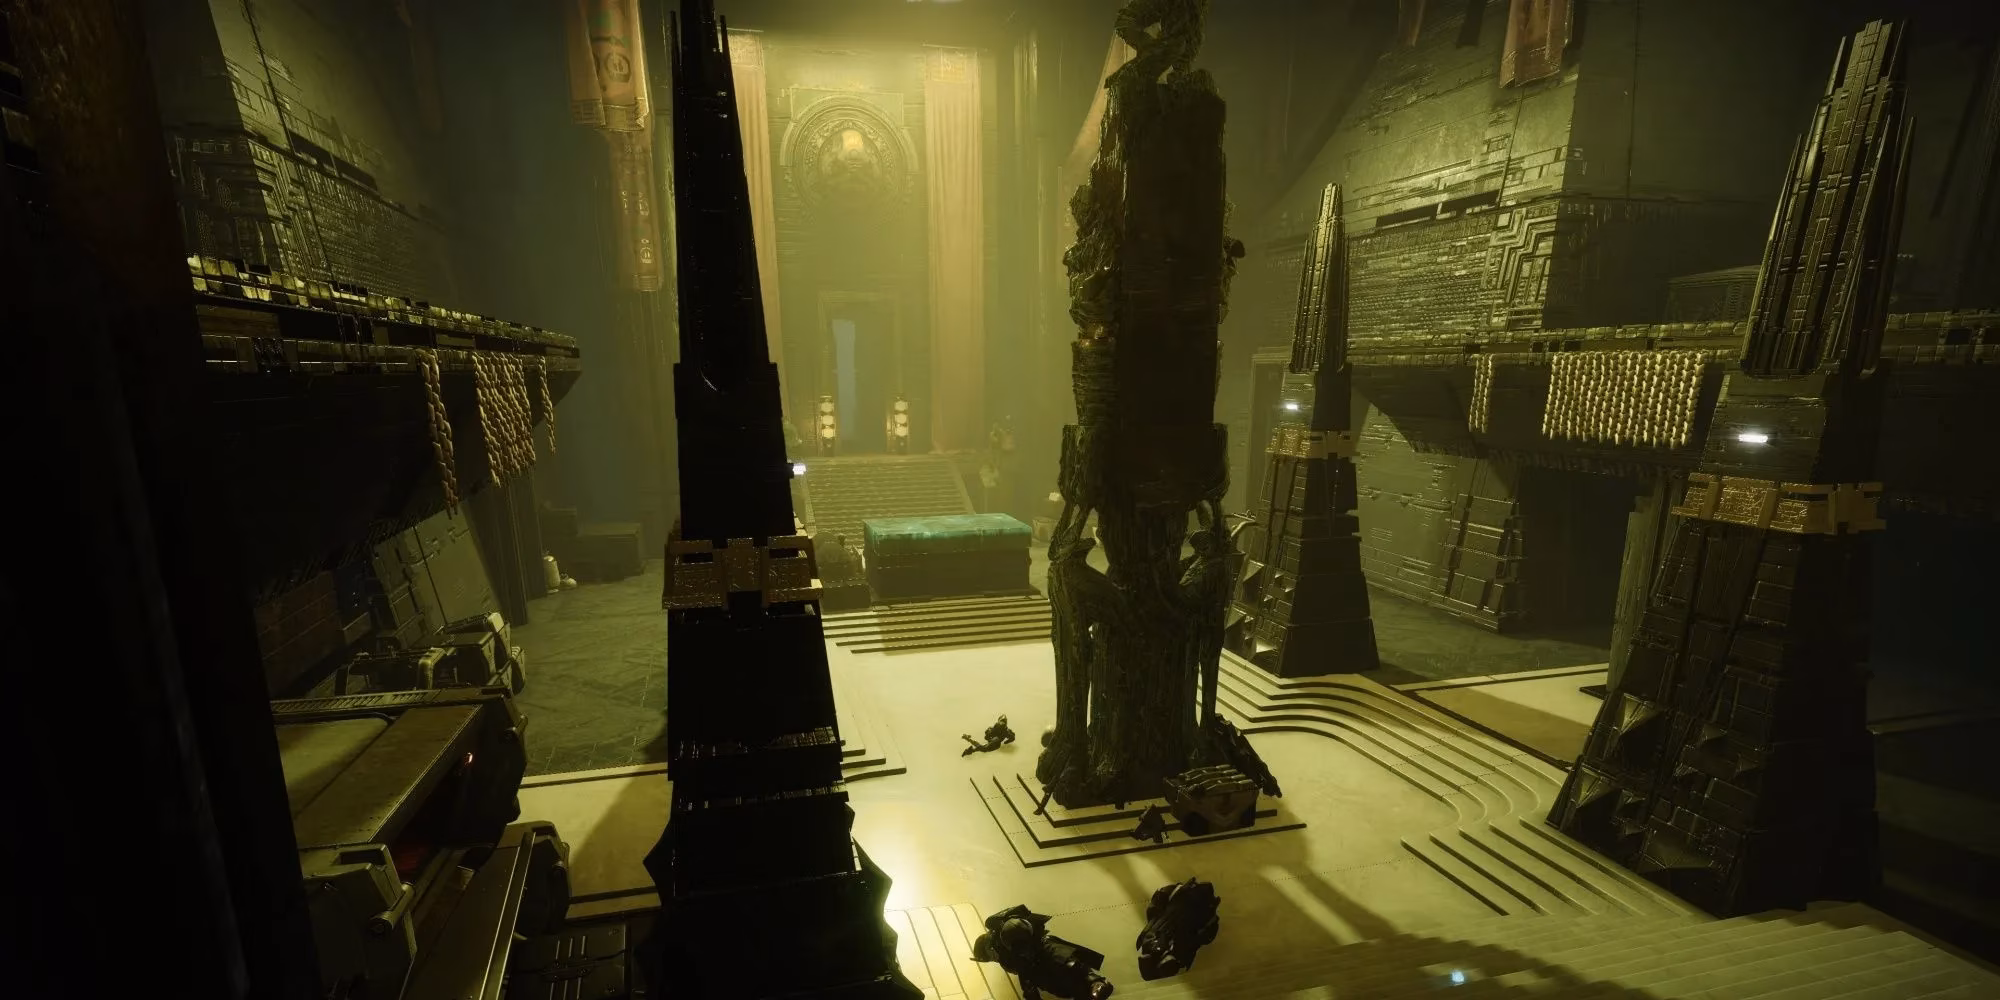
Boss Arena
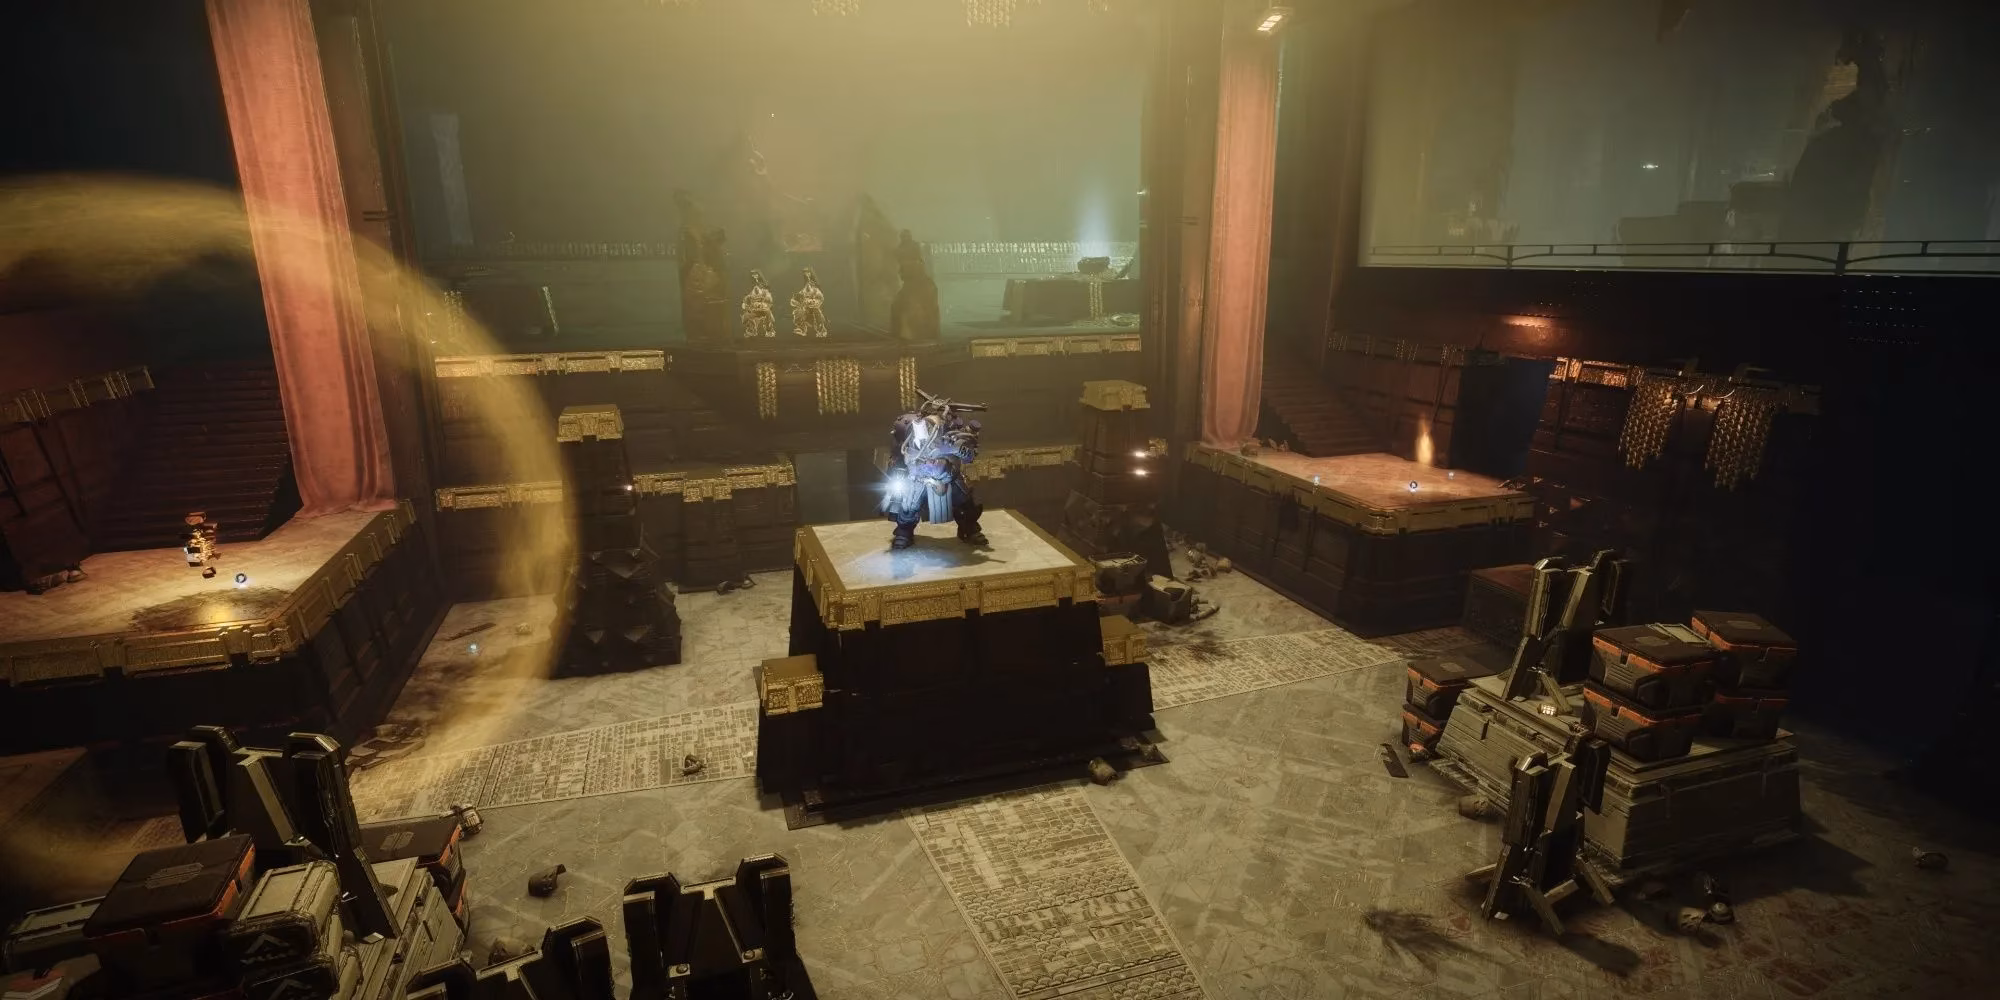
The boss arena greets you with a Colossus that already has its cannon spun up. Stick to the entrance like glue – the cover pillars and the threshold itself are your best friends. Phalanxes stand guard on each flank, and two Psions snipe from the back. Take out those Psions immediately; their chip damage feels negligible until it isn’t. War Beasts will rush your position soon after, so toss a grenade to greet them.
Now, the boss. Under Arc Threat, its cannon shots hit like a truck, and it rarely misses when you’re out in the open. Play peek-a-boo from cover, dealing damage only when the boss is reloading or focused on someone else if you’re in a fireteam. After you chip away a third of its health, the boss retreats to the back of the room, calling in reinforcements. This is your moment – pop your Super, mop up the adds, and then unload everything on the boss. No Champions spawn here to complicate things, so it’s payback time for all those Barrier and Unstoppable headaches. High-DPS loadouts like Starfire Protocol Warlocks or Cuirass Titans can simply delete the boss right then, ending the encounter in a spectacular flash.
For the solo flawless purists, slow and steady still wins the race. Keep moving, chip away with a scout or bow, and never let the boss draw a clean line of sight for more than a second. When the last enemy falls, the Lost Sector chest materializes at the back of the arena. Open it, whisper a prayer for a god-rolled Exotic, and enjoy the spoils.
And that’s it – Gilded Precept doesn’t reinvent the wheel, but its predictable rhythm and generous cover make it a Lost Sector that respects your time. A few runs to learn the enemy spawns, a loadout comfortable for your playstyle, and you’ll be farming Exotics like a seasoned pro.
Comments