Equilibrium Dungeon Relic Hunt: Your Complete Guide to The Way Between Quest & Epic Rewards!
Discover the thrilling 'The Way Between' quest in Destiny 2's Equilibrium Dungeon, packed with secrets, powerful relics, and mind-bending puzzles for epic loot.
Hey Guardians! Just finished grinding out the brand new "The Way Between" quest in Destiny 2's Equilibrium Dungeon, and let me tell you, it's a wild ride packed with secrets, sweet loot for your shiny Praxic Blade, and some seriously brain-tickling puzzles. Think of it like finding hidden treasure in a cosmic funhouse designed by the Taken – confusing, thrilling, and totally worth it! There are FOUR key relics to snag, each unlocking game-changing bonuses. Feeling lost in the shadowy depths? Don't sweat it, I've mapped out every step, every relic, and every reward you'll earn. Let's dive in! 🚀💥
⚡ Relic #1: The Starting Point (Offensive Form Reward)
-
First Run Complete: Beat Dredgen Sere on your initial Dungeon clear. You'll get your first relic automatically.
-
Back to the Temple: Head straight back into Equilibrium on your NEXT run. Go to the first encounter area, "Harvester," specifically the large Inner Temple room.
-
Open Sesame: Approach the stairs leading up in the Inner Temple. The previously sealed door magically opens! Go inside.
-
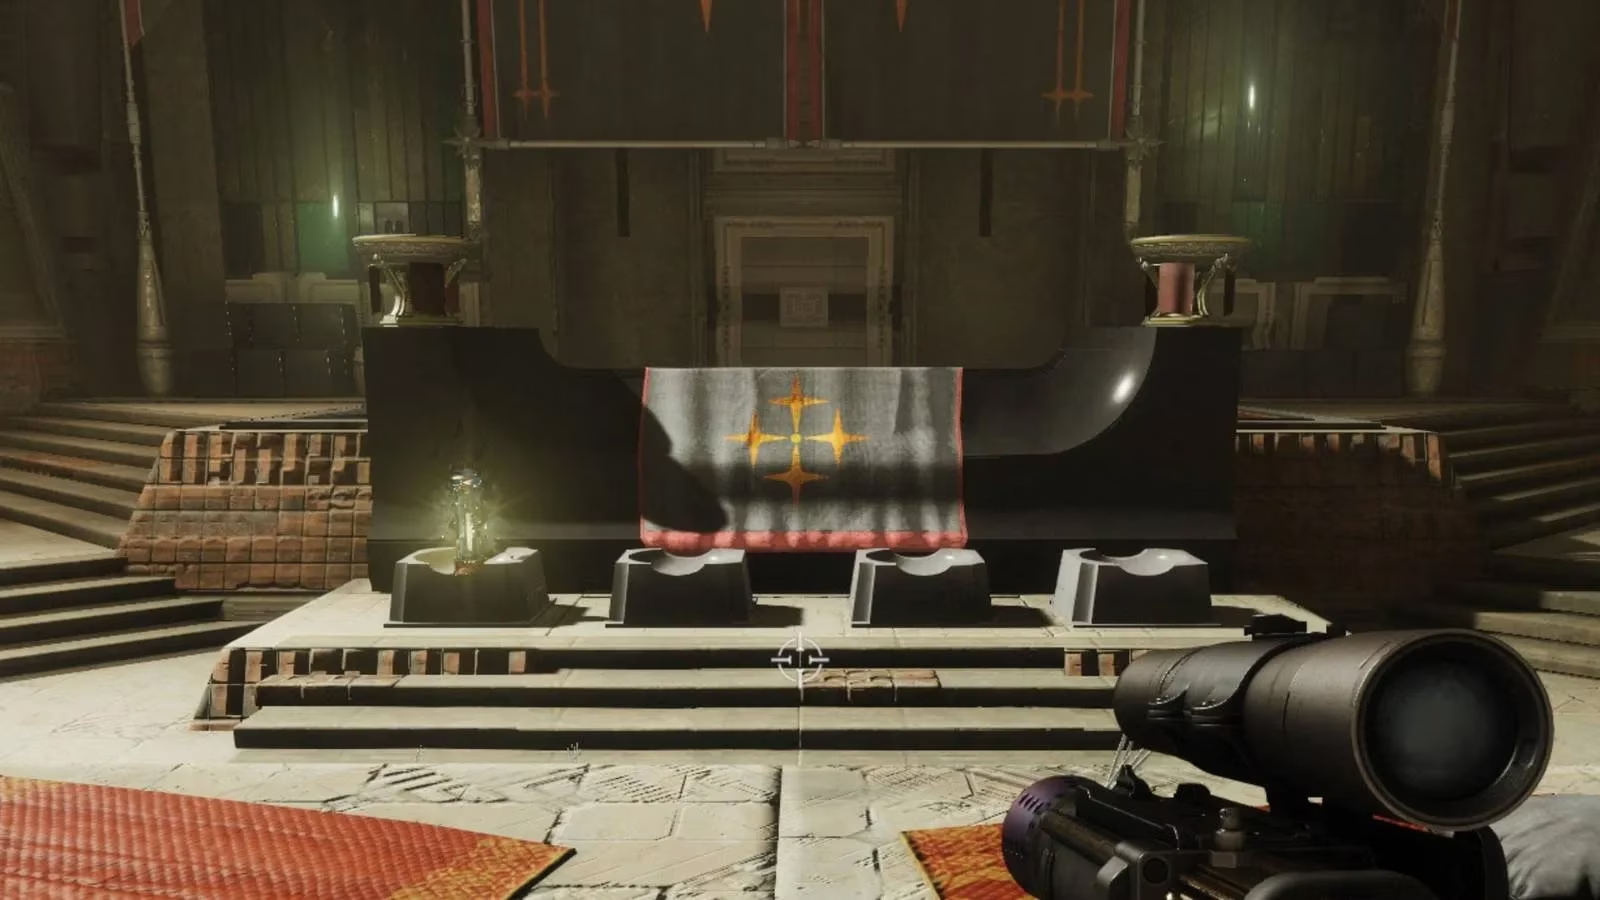
Place & Progress: Find the first altar on your right. Plonk that relic down. Listen to some dialogue, and boom – quest officially begun!
🔥 Relic #2: Harvester's Shadow Trial (Invigorating Blade Focus Reward)
-
Trigger: After completing the Harvester encounter, DON'T get on the ship. Instead, backtrack to the Inner Temple.
-
Spot the Blight: Look for a Taken blight blocking the path on the right. Slash it with your Praxic Blade to start the trial!
-
Trial Mechanics:
-
Destroy Forgotten Eyes to build your Gathering Shadow buff into Shadow Master AND extend the crucial "In Shadow" timer. Running out = restart from the blight! ⏳
-
Goal: Become Shadow Master, then use your new Shadow Power ability to shatter the shield of the Taken Captain guarding the area. Eliminate him.
-
A small Taken blight appears. Destroy it with the Praxic Blade.
-
-
Path Forward:
-
With the shield down, hop on your Sparrow and zoom ahead.
-
Keep shooting Forgotten Eyes to maintain Shadow Master and your timer.
-
You'll hit a big open space. Clear all Taken enemies.
-
Grab Shadow Master again, use Shadow Power on the next shielded Taken Captain, then Praxic Blade the blight blocking progress.
-
-
The Payoff: Keep pushing forward. You'll face another wave: Shadow Master, kill adds and a shielded Captain. Once clear, hit the Taken blight on the left wall, then use Taken power on the revealed battery panel. This opens a side room containing the relic! Charging this relic is like plugging a supernova into a AA battery – intense!
-
Reward: Complete the Dungeon again. Place this charged relic back in the Inner Temple on your next run to unlock the Offensive Form for your Praxic Blade.
🌀 Relic #3: Hyperspace Hijinks (Gyro Core Power Core Reward)
-
Location: Reach the traversal section AFTER Harvester, heading towards the first boss. You'll shoot blue fuses to open hangar doors to space.
-
Find the Door: The door closest to the two fuses is open. Inside, spot a Taken blight. Praxic Blade it to start this trial.
-
Trial Mechanics:
-
Explore the room, destroy Forgotten Eyes to extend timer and build Gathering Shadow to Shadow Apprentice.
-
At Shadow Apprentice, shoot an open Taken-infused panel on the left wall. This opens a door right behind it with another Forgotten Eye.
-
Backtrack to the trial start. A Shadow Apprentice enemy spawns. Defeat him and the Taken blight that appears at the blocked door.
-
-
Path Forward:
-
Cross the hyperspace bridge to the other ship as usual.
-
Destroy enough Eyes for your timer, then head to the right room. Shoot another panel on the wall.
-
Inside the unlocked door: Forgotten Eye. Past the main room: Another Forgotten Eye.
-
Use Shadow Power to kill the Taken Captain in the middle room.
-
Enter the right room. Destroy a Taken blight (Praxic Blade) and a vent.
-
Drop down. Follow the path right to find more Eyes, a Taken Captain, and a final Taken blight on the right wall hiding a panel.
-
-
The Payoff: Destroy that final panel to claim the relic!
-
Reward: Place it in the Inner Temple after another Dungeon clear to get the Invigorating Blade, a Blade Focus for your Praxic Blade.
💫 Relic #4: The Pre-Boss Gauntlet (Catalyst Time!)
-
Location: The jumping puzzle just before the final boss, Dredgen Sere.
-
Find the Blight: Progress until you see a door with a Taken blight on the left. Destroy it with the Praxic Blade to begin.
-
Trial Mechanics:
-
Collect Gathering Shadow, destroy Forgotten Eyes.
-
Use Shadow Power to yeet enemies off ledges! Watching them plummet is like tossing unwanted junk mail into a black hole – deeply satisfying.
-
-
Path Forward:
-
Enter the next room. Look right for Taken blights floating in the air.
-
Destroy them with the Praxic Blade to create platforms. Navigate, destroy more Eyes.
-
Follow the path. On the back right, use Shadow Power on a battery panel.
-
Find the second battery panel high up on the left, far opposite end.
-
-
The Final Room:
-
Activate both panels. Head into the red pipe (like going to the boss).
-
Shoot the vent on the floor to drop down.
-
Final room: More Forgotten Eyes, a Taken Captain, and a Taken blight hiding the last battery panel.
-
-
The Payoff: Activate that final panel. The locked door beside it opens, revealing the last relic! This final stretch feels like threading a needle while riding a rollercoaster blindfolded.
-
Reward: Place it in the Inner Temple post-Dungeon to unlock the Gyro Core Power Core upgrade.
🔥 The Grand Finale: Shade of Sere & Epic Rewards!
-
Summon the Boss: With ALL relics placed, head to the back of the Inner Temple. A Taken blight and Raid Banner spawn.
-
Destroy & Teleport: Smash the Taken Blight to get teleported into the boss arena against the Shade of Sere.
-
Boss Mechanics:
-
Compel Phase: Kill Taken enemies with the Praxic Blade to get Shadow Master. Interact with the Shade to "Compel" him. Do this three times.
-
DPS Phase: Boss teleports up. Use Taken blights (destroyed to make platforms) to climb towards him. Damage him while managing the "In Shadow" timer (extends only by dealing sufficient damage).
-
Repeat: Do another 3 Compel phases (kill adds -> Shadow Master -> Compel), climb up, DPS again.
-
-
Victory & Loot!
-
Defeat the Shade to claim the Energy Conduit Catalyst for your Praxic Blade!
-
Interact with the spawned Praxic Fire.
-
Completing "The Way Between" unlocks Dungeon Focusing for Equilibrium loot AND grants the Catalyst for the Heirloom Exotic Crossbow! 🏹🎉
-
There you have it, Guardians! The full path through "The Way Between." It's a journey, no doubt – like untangling headphones from the depths of a cosmic backpack – but the rewards are absolutely top-tier. Grab your fireteam, charge your Praxic Blades, and conquer those shadows! Let me know how it goes down below! 👇
Comments