Destiny 2 K1 Crew Quarters Master Lost Sector Guide For 2026
Conquer Destiny 2's brutal K1 Crew Quarters Master Lost Sector with 2026 modifiers, optimal loadouts, and a room-by-room clear plan.
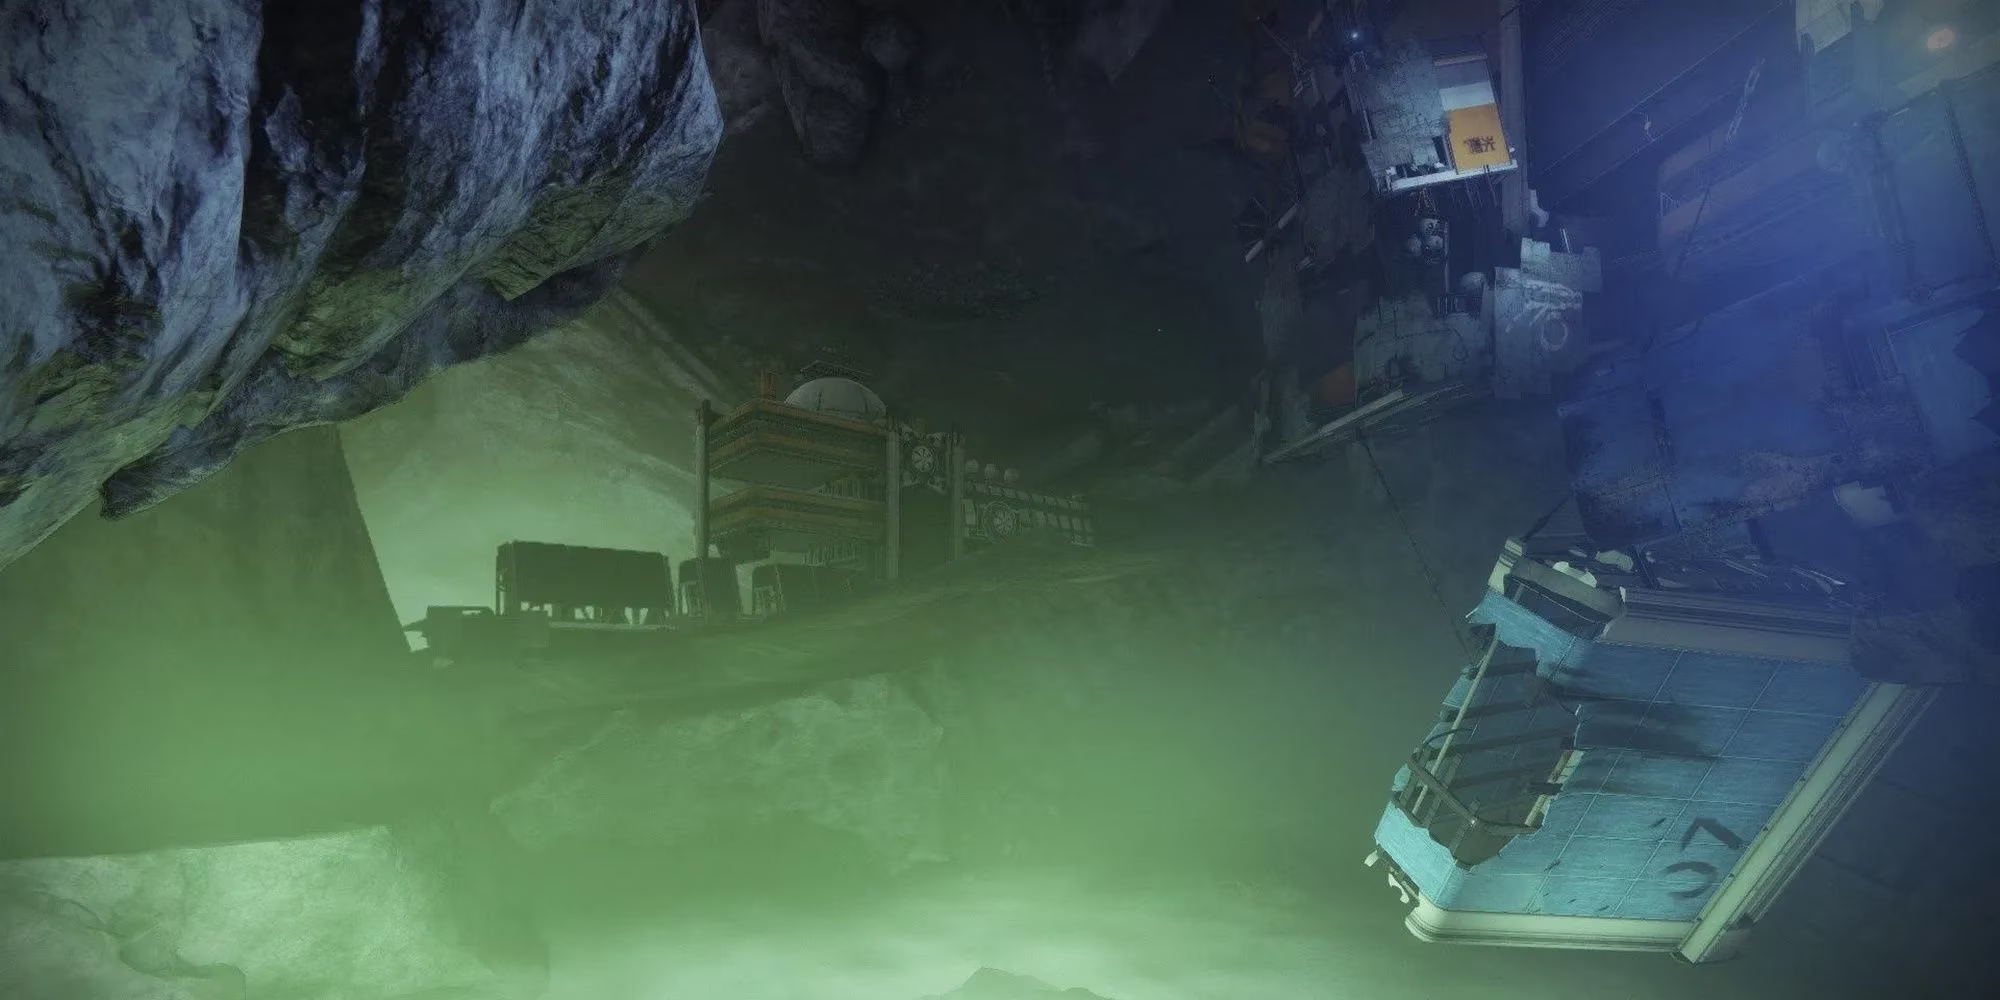
K1 Crew Quarters has long been one of the Moon's most punishing Master Lost Sectors in Destiny 2. In 2026, the sandbox has changed, Artifact perks have rotated, and new Exotics have arrived, but the core problem remains the same: too many Champions, too little cover, and an Arc burn that turns every Shank volley into a real threat. When this Lost Sector enters the Master rotation, players who treat it like a normal speedrun will likely leave with nothing but a revive timer. This guide breaks down the modifiers, the recommended loadout, and a room-by-room plan for clearing K1 Crew Quarters without losing sanity.
Modifiers And Recommended Loadout ⚠️
K1 Crew Quarters is not a fair fight. It stacks Champion density with an Arc damage burn and Attrition, forcing players to either play slowly or build for constant healing. The table below covers the key modifiers that matter in 2026.
| Modifier | Effect |
|---|---|
| Arc Singe | Arc damage from enemies is increased. Shanks, Captains, and Servitors hit much harder. |
| Attrition | Health regeneration is delayed unless players secure kills or use healing. |
| Champions: Barrier and Overload | Barrier Servitors and Overload Captains must be stunned with the correct Artifact mods. |
| Match Game | Enemy shields resist unmatched damage types. |
| Limited Revives / Extinguish | Deaths are costly, and a full fireteam wipe can end the run. |
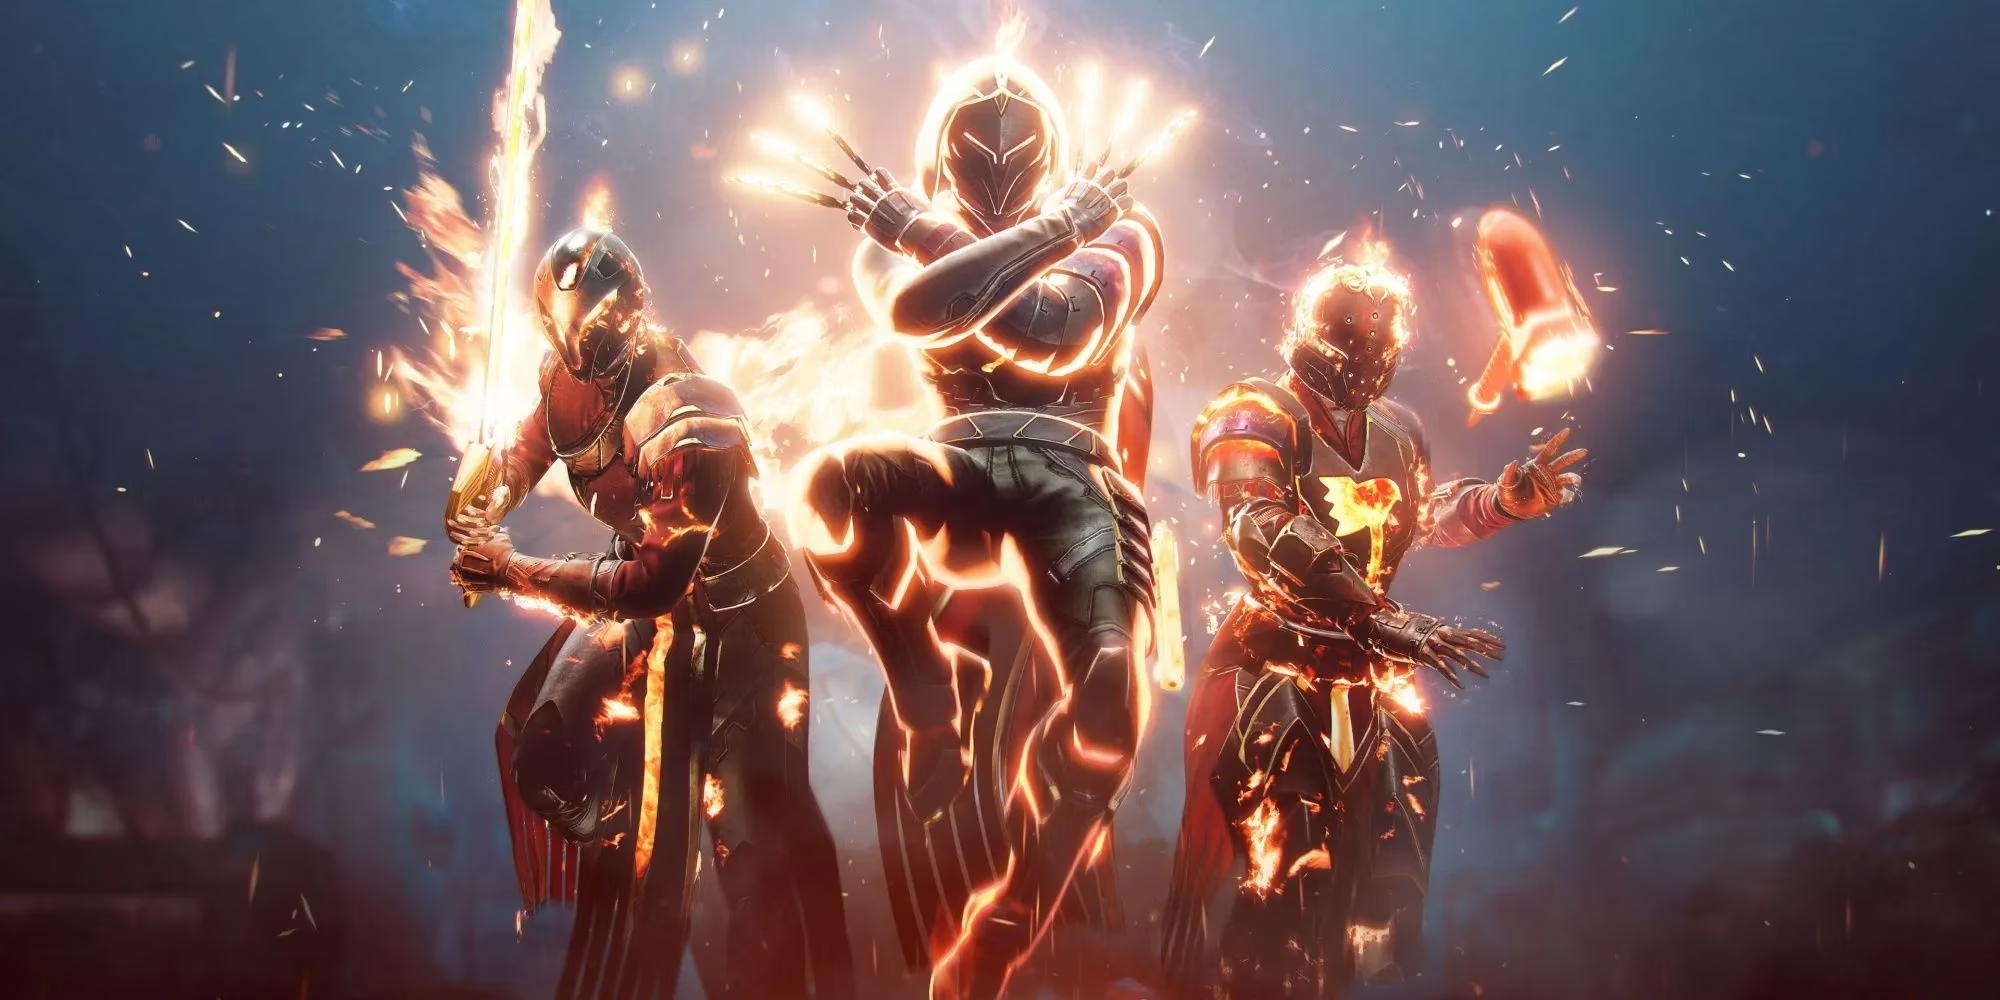
A Solar subclass remains the safest choice for most players. Restoration, healing grenades, and Ignitions help counter Attrition while also clearing clustered Fallen. Stasis Warlocks can still use Bleak Watcher to lock down Champions and Servitors, especially in the pathway and boss arena. For weapons, the loadout should include a reliable Anti-Barrier weapon, an Overload weapon, and an Arc special or Heavy weapon for burst damage. Because Artifact perks rotate each Episode, players should always check the current seasonal Artifact before entering.
K1 Crew Quarters: Entrance 🚪
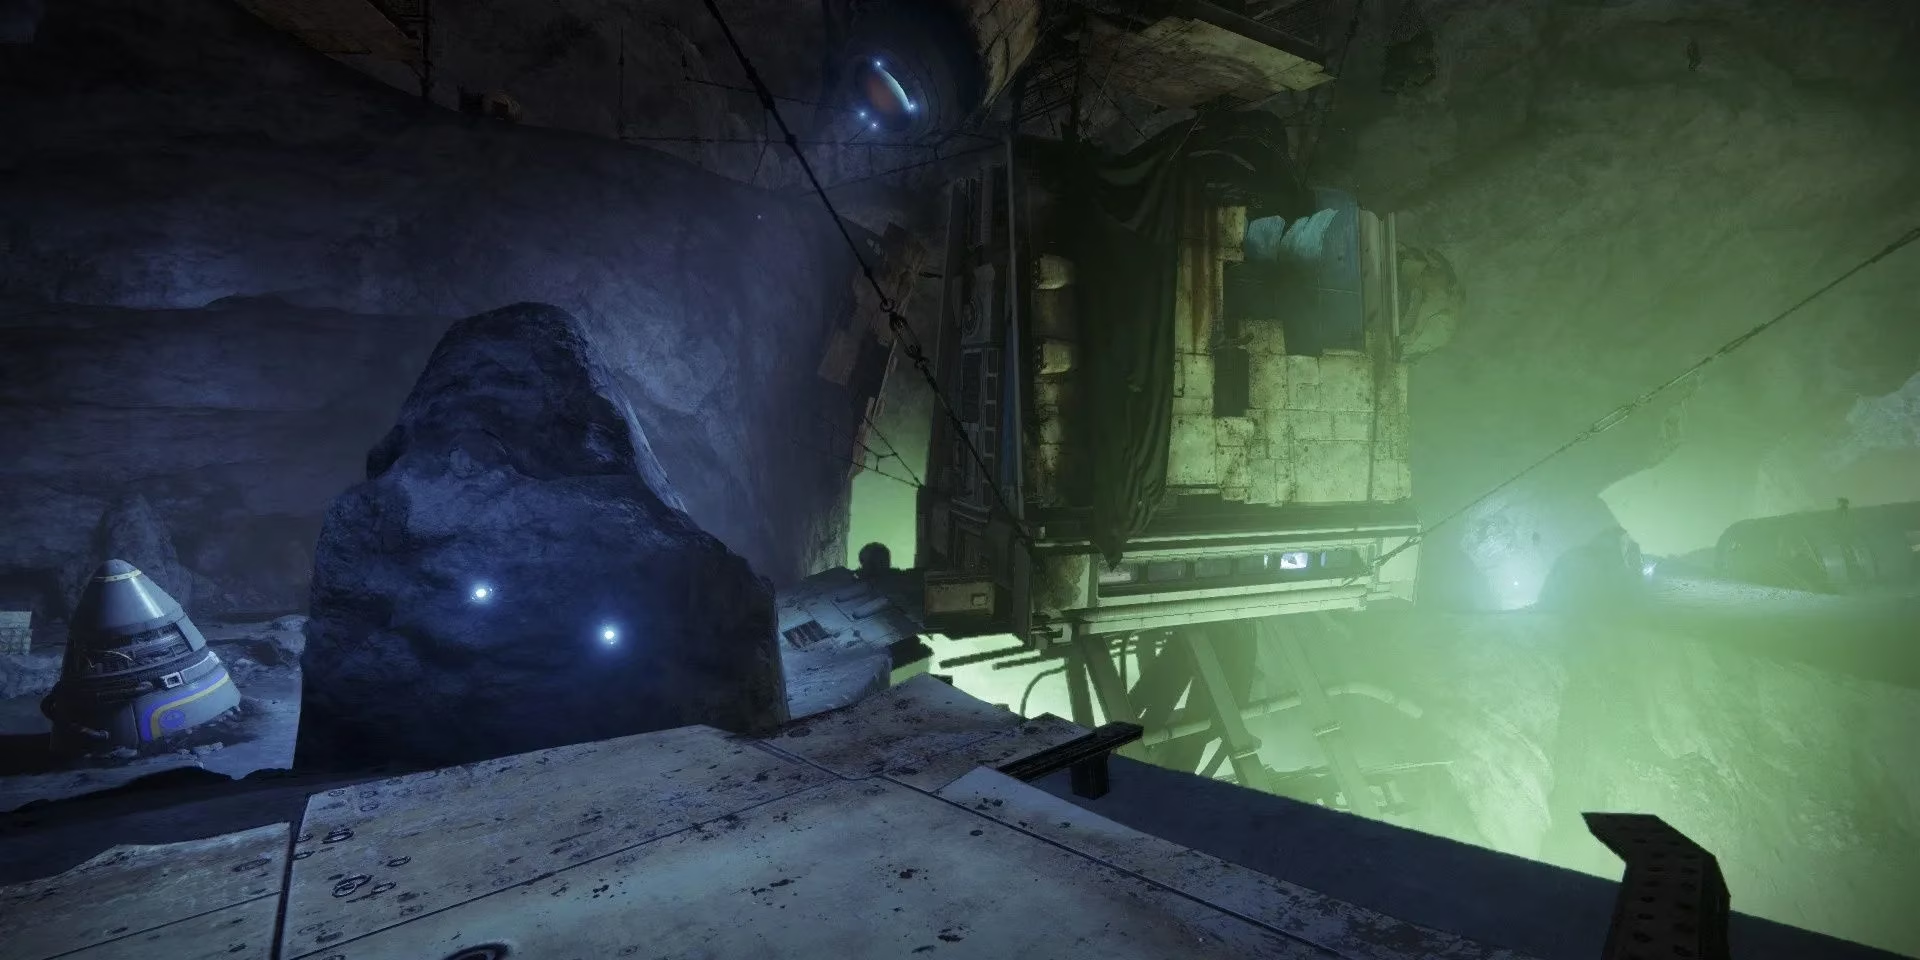
Entrance enemies include two Overload Captains, Dregs, Vandals, Shanks, and Explosive Shanks. The opening room sets the tone: players should stick to the rock on the right and avoid pushing forward until the coast is clear. A few Vandals will run to a vantage point on the left, often pulling the first Overload Captain with them. Kill the Vandals first, then burn the Champion as fast as possible. If players ignore the Champion and only kill weaker enemies, they will soon face two Champions at once.
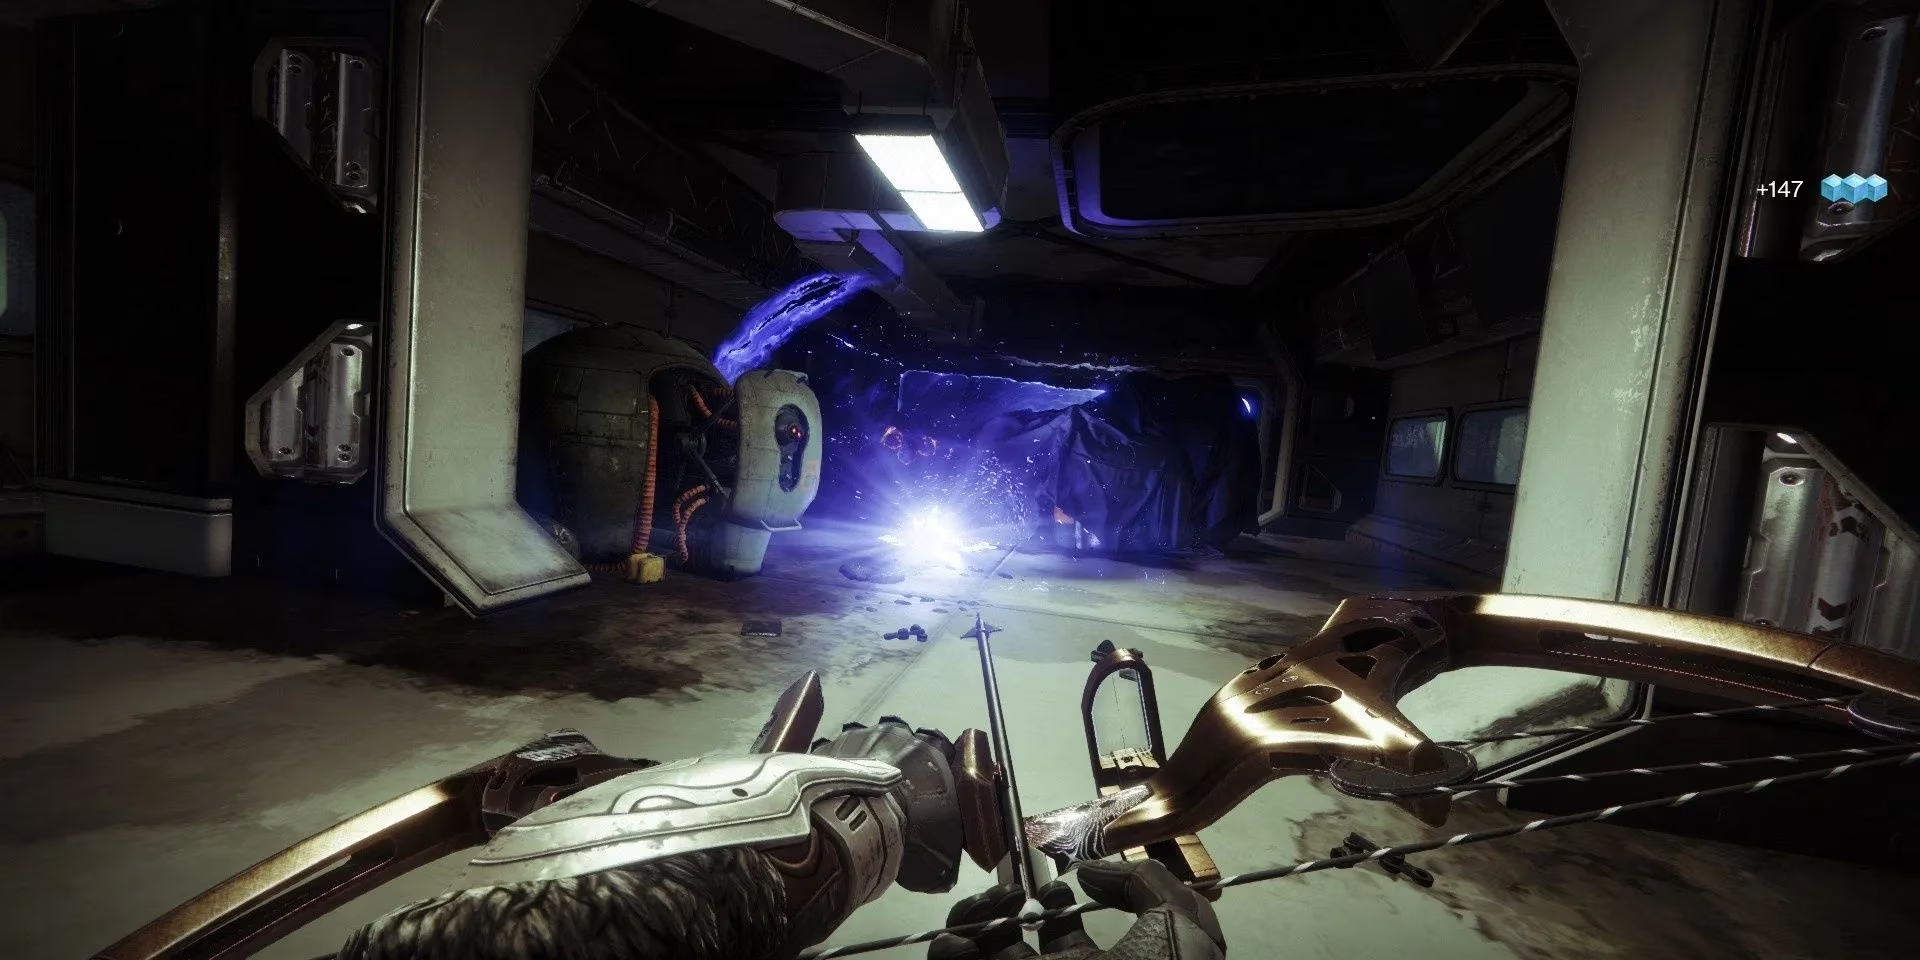
When enough enemies die, a second wave spawns. An Overload Captain, Shanks, and a few Dregs rush out from the nearby building. Once again, the Captain must die quickly. As players run into the building, they should throw a grenade dead center of the floor. Explosive Shanks will rush from the boxes straight into the blast, making the next section much safer.
K1 Crew Quarters: Pathway 🛤️
The pathway is where K1 Crew Quarters becomes brutal. Enemies include three Overload Captains, two Barrier Servitors, Dregs, Vandals, Shanks, Explosive Shanks, Marauders, and Tracer Shanks. Directly ahead is an Overload Captain. Players should stun it and kill it from a distance. They should not push up, because doing so spawns additional Champions. From the building, they can pick away at Fallen from safety. Dispatching enough enemies causes more Fallen to spawn near the middle of the pathway. A Shadebinder Warlock will want to deploy a Bleak Watcher or two at this point.
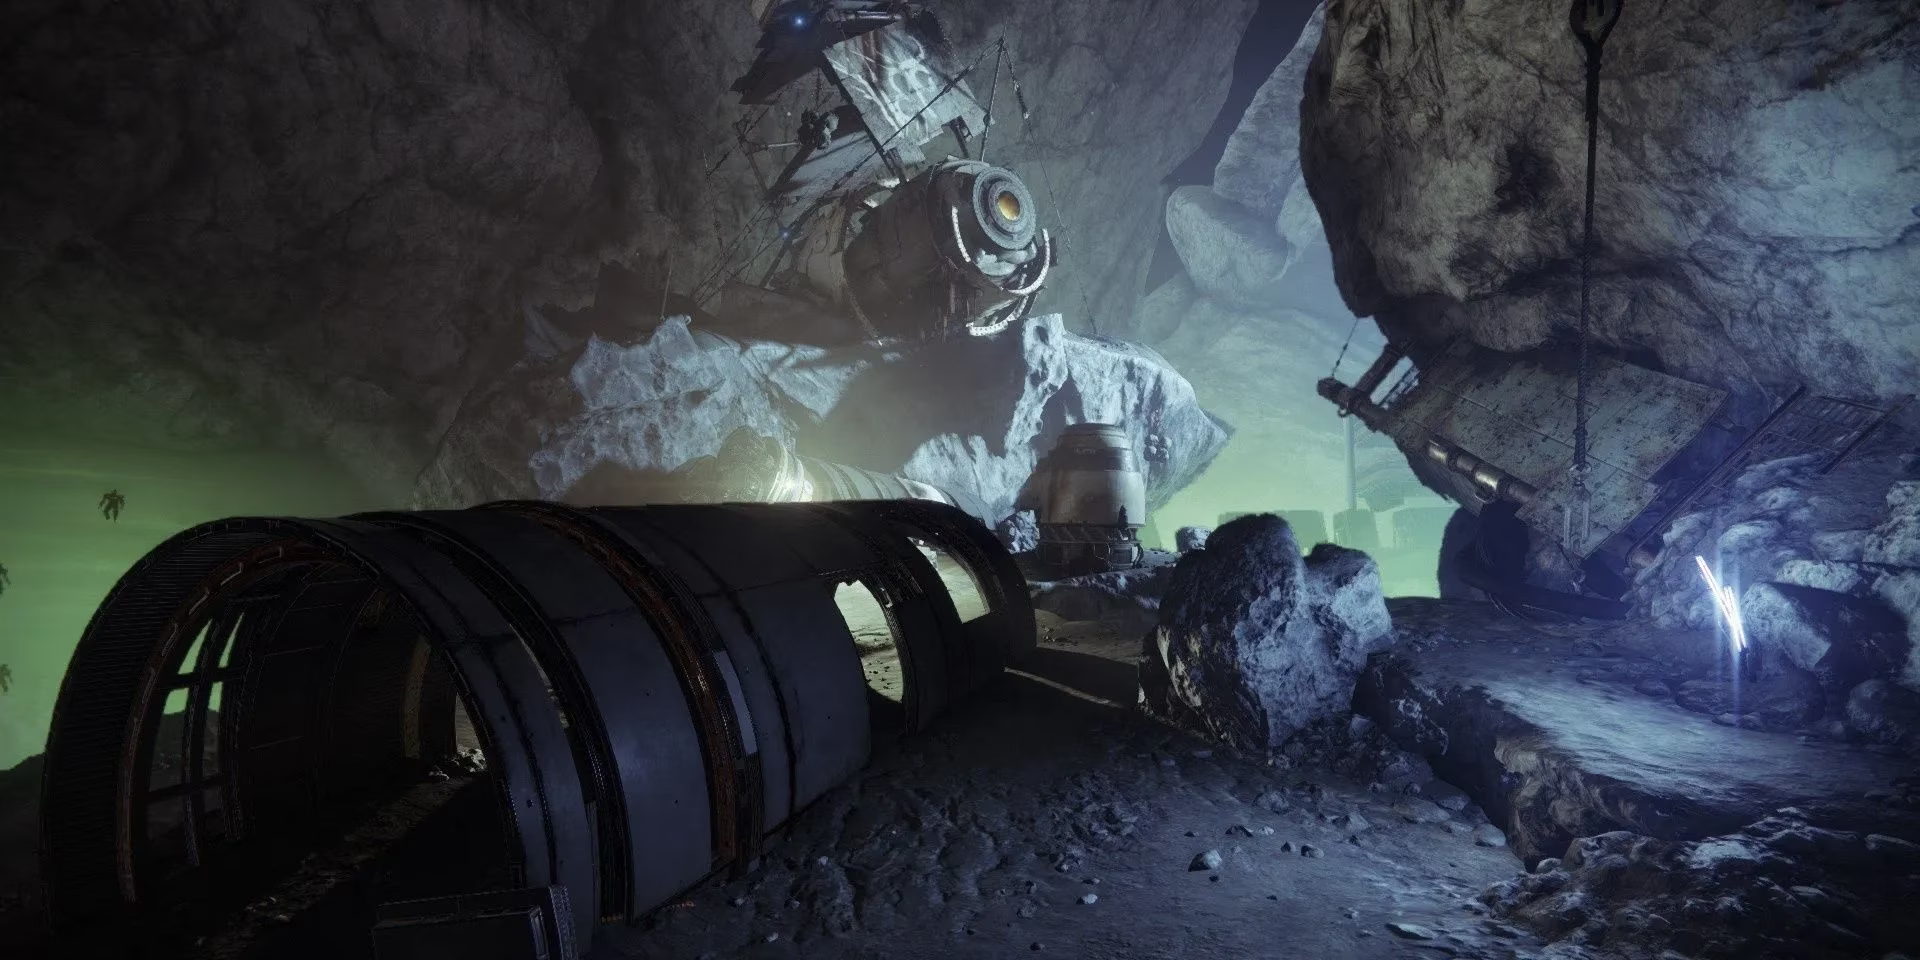
An Overload Captain and Barrier Servitor then spawn alongside a wave of Explosive Shanks, Vandals, Marauders, and Dregs. The Barrier Servitor makes all of these enemies invincible. Players should damage the Servitor slightly until it deploys its shield. Once the shield is up, an Anti-Barrier weapon breaks it, removing every immunity tether for a short time. That window is the moment to kill as many adds as possible, using Solar Ignitions or a Super. If the Servitor can be killed during this part, players should do so. Otherwise, they should focus on the Servitor once it pops its barrier a second time.
After the Servitor is dead, attention turns to the Overload Captain. As always, stun it before using Heavy ammo on it. An Arc special or Heavy weapon can kill the Captain quickly. Players can then push forward, but they should not reach the end of the path. Three more Champions spawn, one of which will be at the boss arena. Only two need to be dealt with: a Barrier Servitor and an Overload Captain.
Just as before, the Barrier Servitor must be disrupted by breaking its shield to make nearby adds vulnerable. Players should not push up while doing this, because Tracer Shanks dot the cliffside on the right. Pushing too far forward will get them killed.
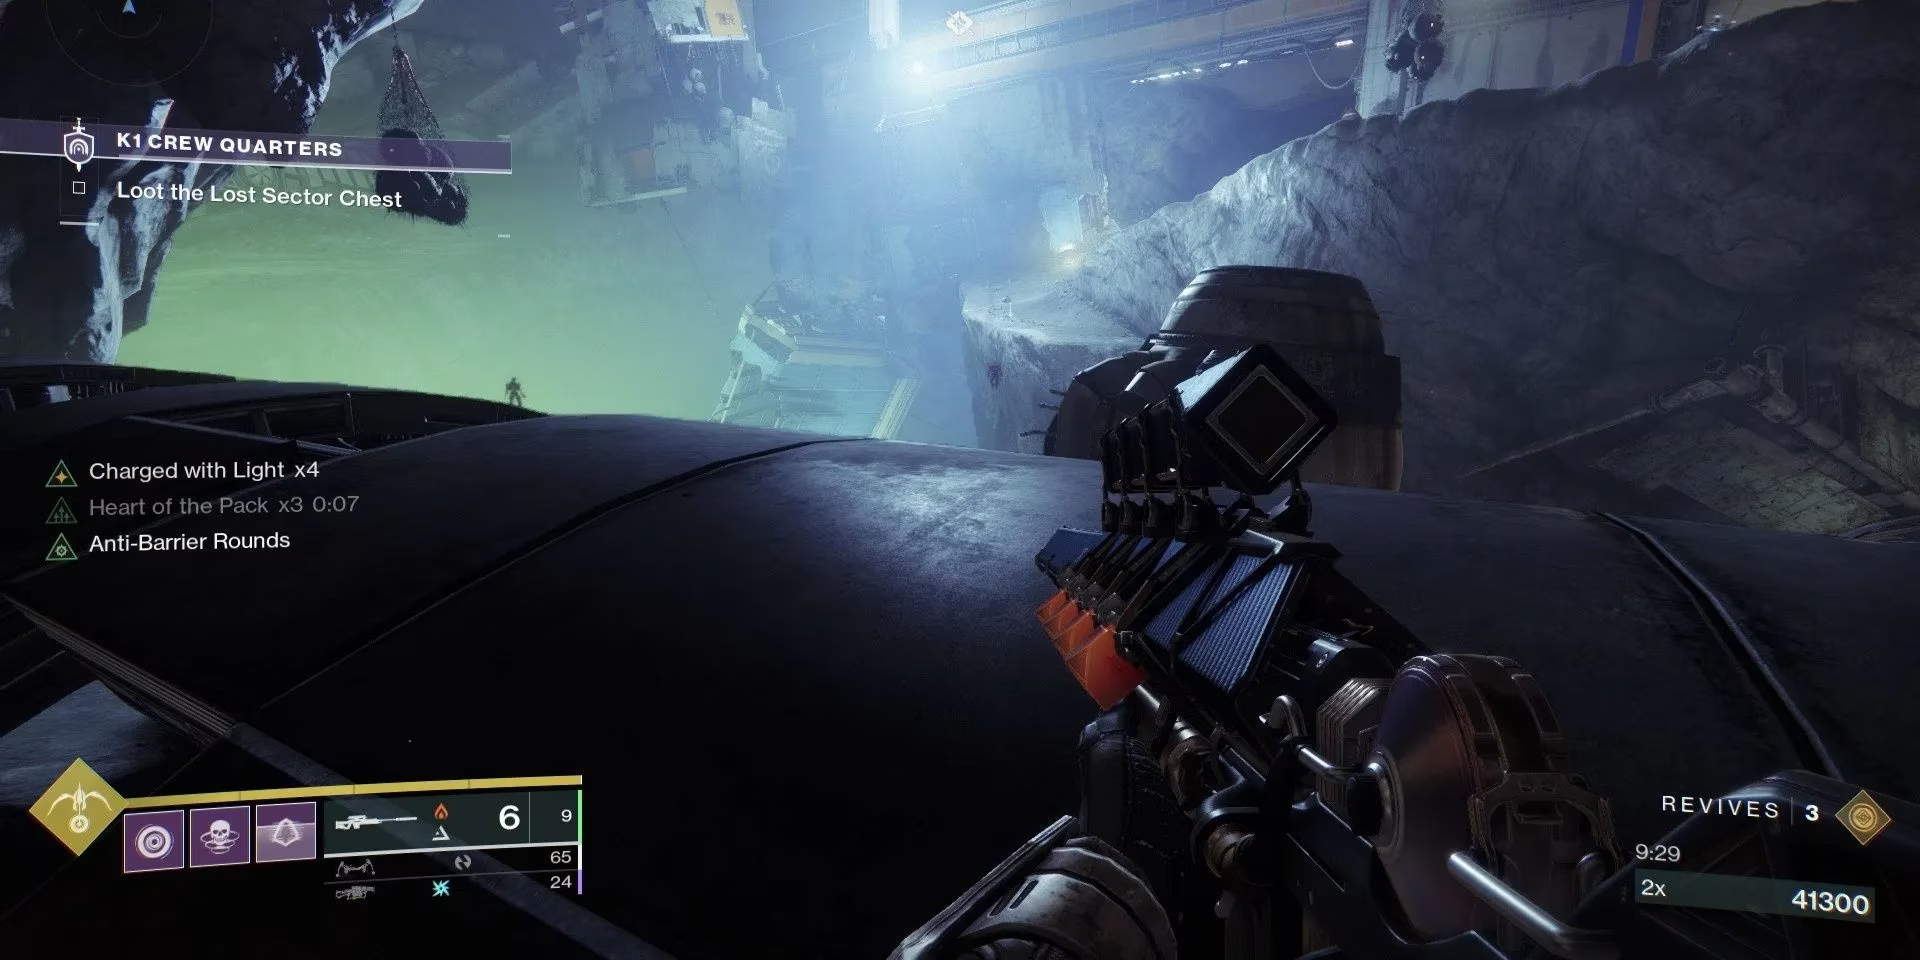
If players cannot find a good angle, they can use the pipe at the end of the path. Killing Tracer Shanks on the cliff first is important. Certain slits in the pipe make for great firing angles, though players must be careful of Dreg grenades. When the Barrier Servitor is dead, a Super or Heavy ammo should be used to kill the Overload Captain and any remaining enemies. Following the cliff where the Tracer Shanks stood leads to the boss.
K1 Crew Quarters: Boss Arena 🏆
Boss arena enemies include one Overload Captain, two Barrier Servitors, one Heavy Shank boss, Dregs, Vandals, Shanks, and Wretches. A Barrier Servitor appears on a platform before the boss, protecting Shanks, Vandals, and Dregs. Players should force it to spawn its shield, break it, then kill the Servitor. After defeating the remaining adds, they can slowly move up to the boss platform. There they will find an Overload Captain, Vandals, and the Heavy Shank boss. The Overload Captain should die first, then the boss can be damaged.
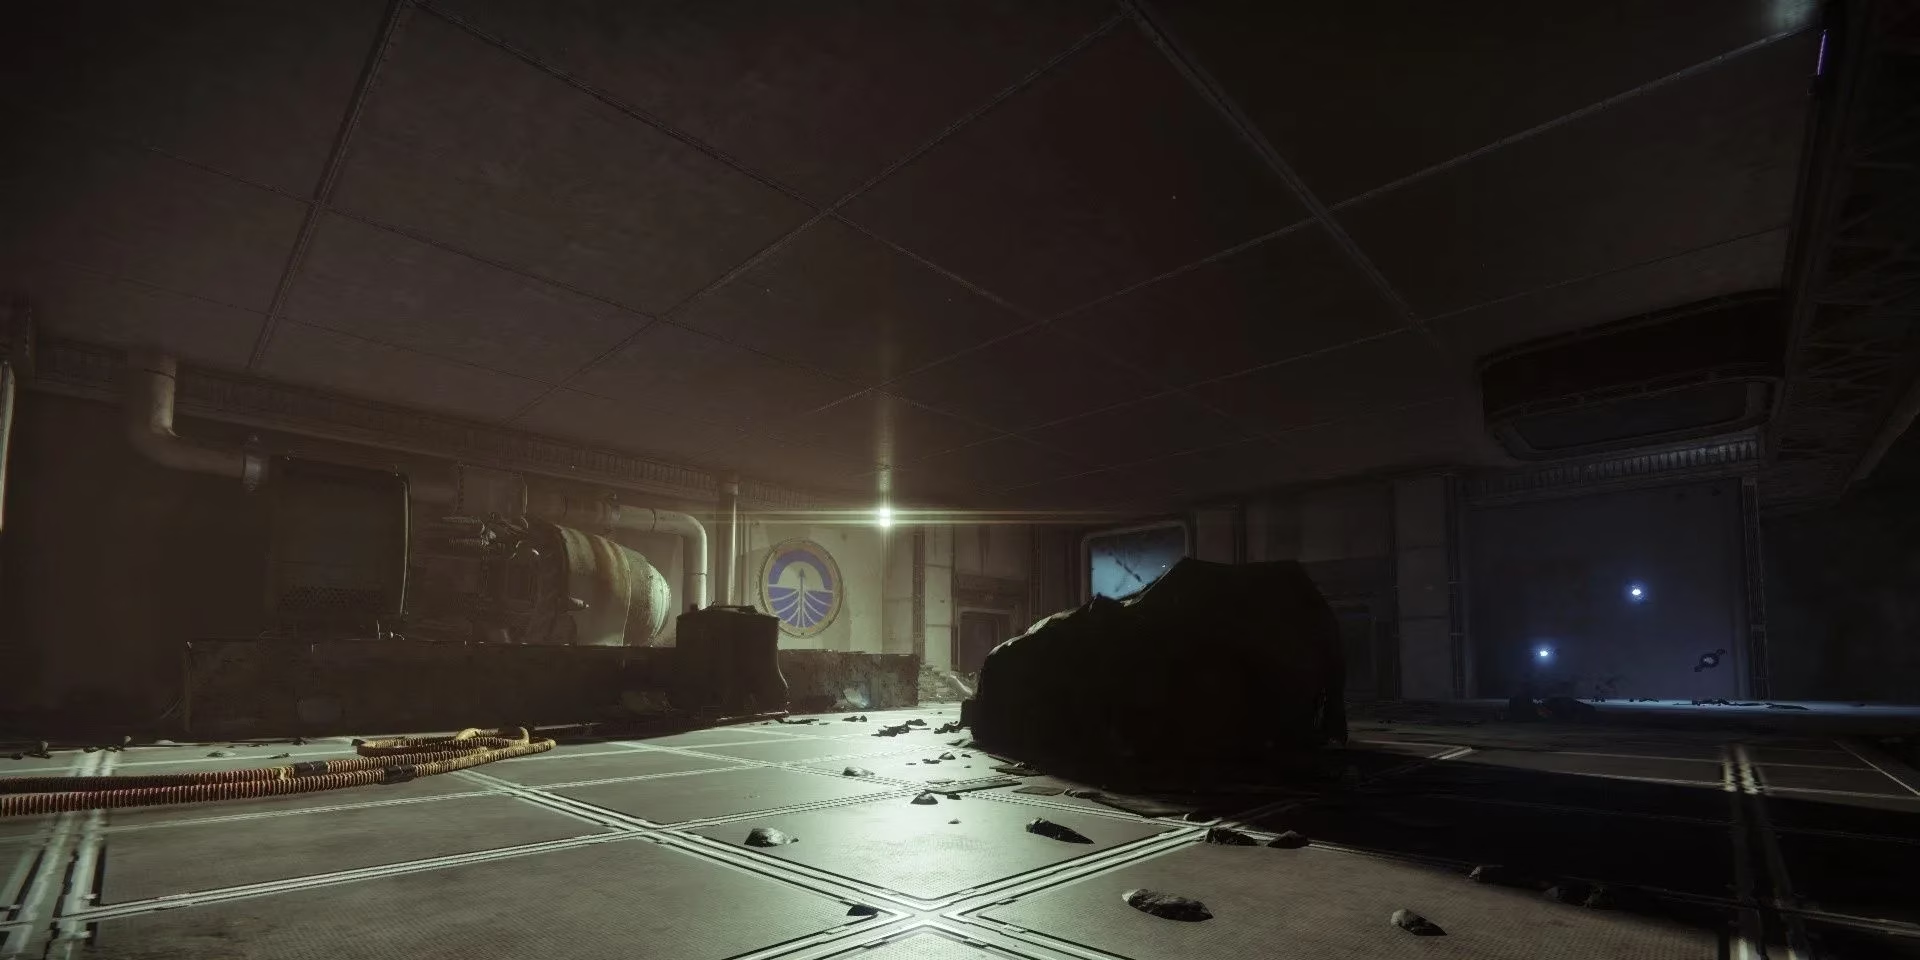
When the Heavy Shank reaches 66% HP, it spawns a wave of enemies. This wave includes a Barrier Servitor alongside typical Fallen adds. The Servitor must be killed as fast as possible. Arc specials and Heavy weapons can take it down quickly. Stasis players can use a Duskfield or a few Bleak Watcher turrets to stunlock the Servitor, preventing it from deploying a shield. Once the Servitor is dead, the fight becomes much smoother. Players should kill the remaining Fallen adds, then damage the boss again.
When the Heavy Shank reaches 33% HP, three Wretches spawn. Players should keep their distance, take them out, then destroy the boss. The Lost Sector chest can then be opened, completing the run.
Final Tips For 2026 💡
K1 Crew Quarters remains a test of patience, positioning, and loadout discipline. In 2026, the best approach is still to bring Solar for healing or Stasis for control, equip the current Anti-Barrier and Overload Artifact mods, and prioritize Servitors over everything else. Champions punish greed. Tracer Shanks punish open ground. Attrition punishes slow recovery. Players who clear adds from a distance, break immunity tethers immediately, and save Heavy ammo for Captains and Servitors will find the Master clear far more manageable. It is not an easy Lost Sector, but it is a fair one once its rules are understood.
Comments