Conquering K1 Communion: Legend Lost Sector Guide
K1 Communion Lost Sector guide covers Destiny 2 strategies and optimal builds for tackling Fallen foes and Champions in 2026.
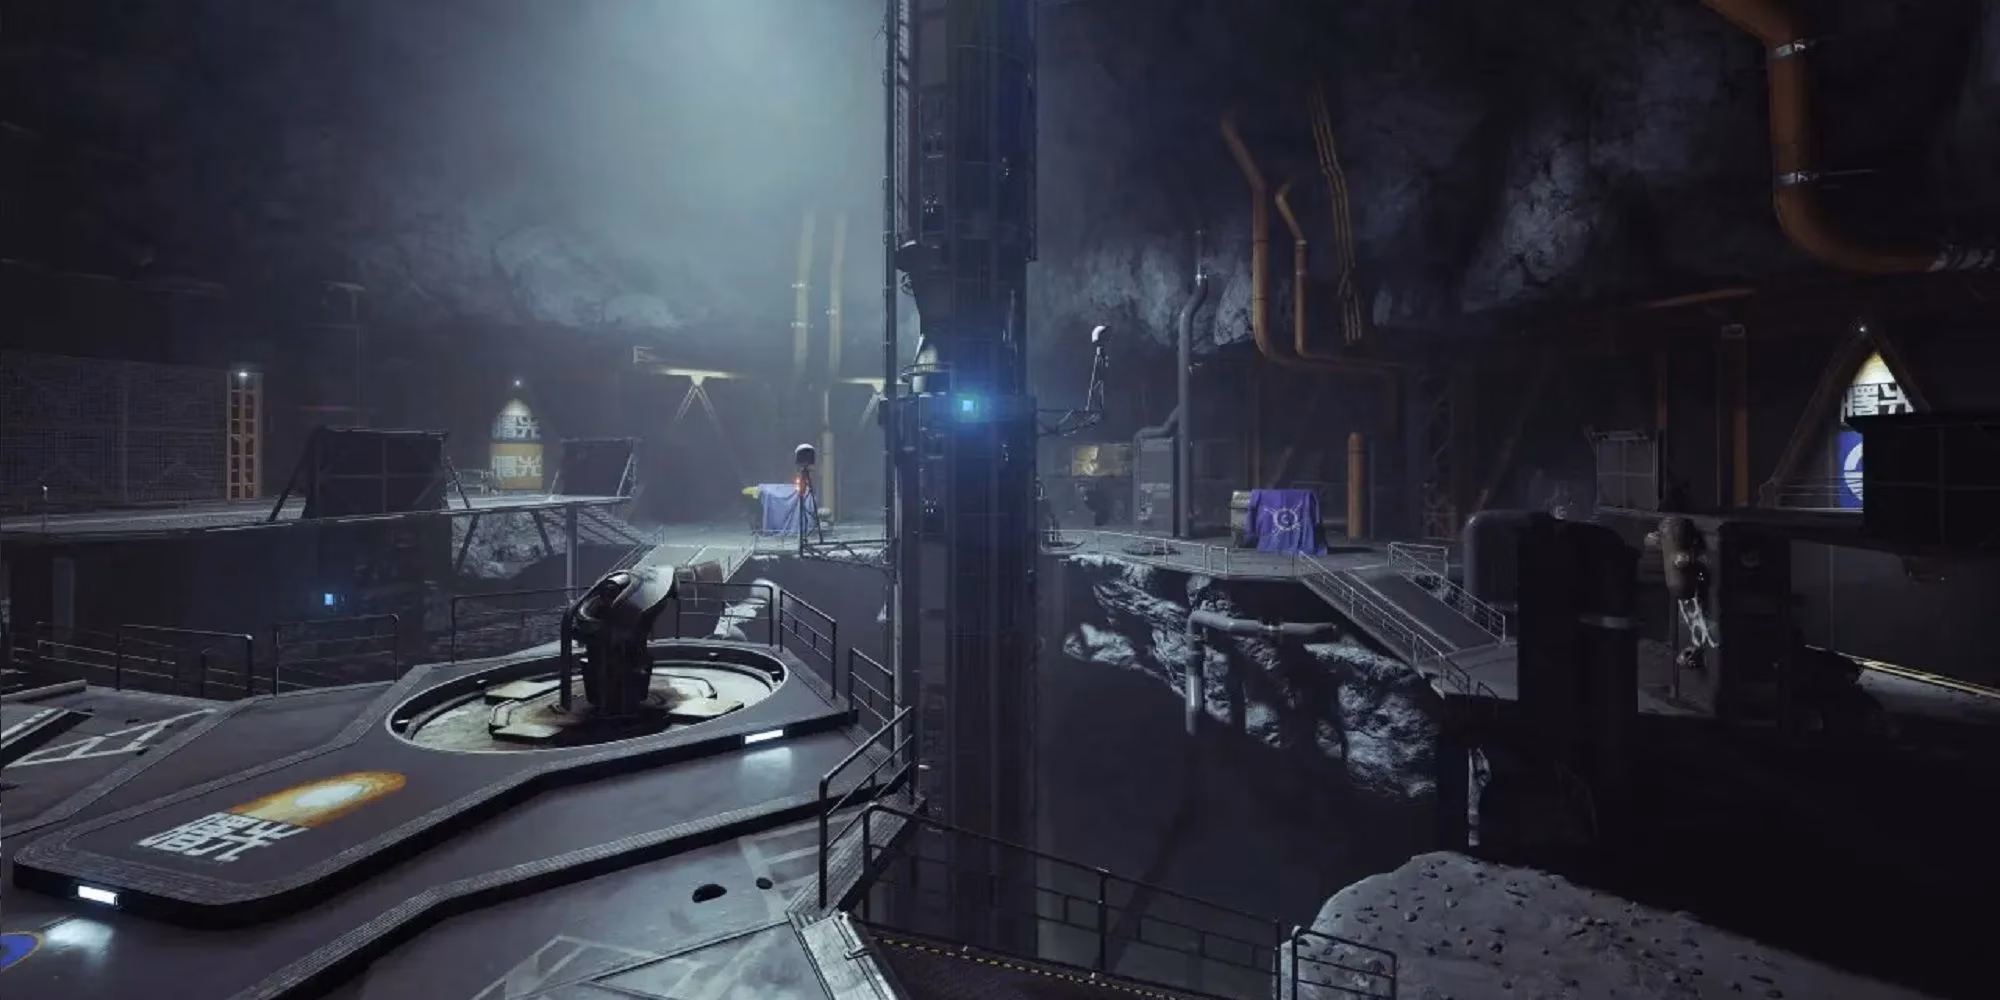
The K1 Communion Lost Sector on the Moon might appear deceptively simple at first glance, but any guardian who has attempted a Legend run can attest to its punishing nature. Back in the day, seasoned players considered it a test of endurance and loadout synergy. Even in 2026, with the vast armory of Destiny 2 having evolved, the core strategy for this Fallen-infested bunker remains a benchmark for PvE efficiency.
What makes K1 Communion unique is its abundance of cover. Unlike claustrophobic Lost Sectors where one wrong step means instant death, here guardians can catch their breath behind thick bulkheads and shattered glass. However, being under-leveled or running a mismatched build can transform a 15‑minute clear into an hour‑long slog. The biggest threats aren't just the Champions, but the steady stream of grenades and the final encounter's immunity mechanic.
🛡️ Enemy Composition
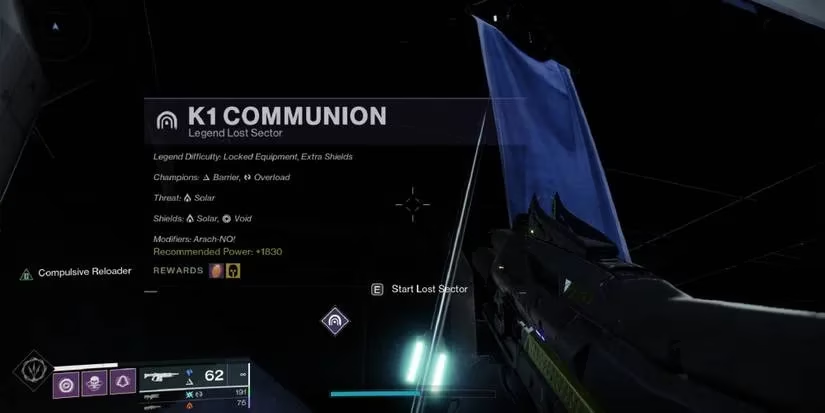
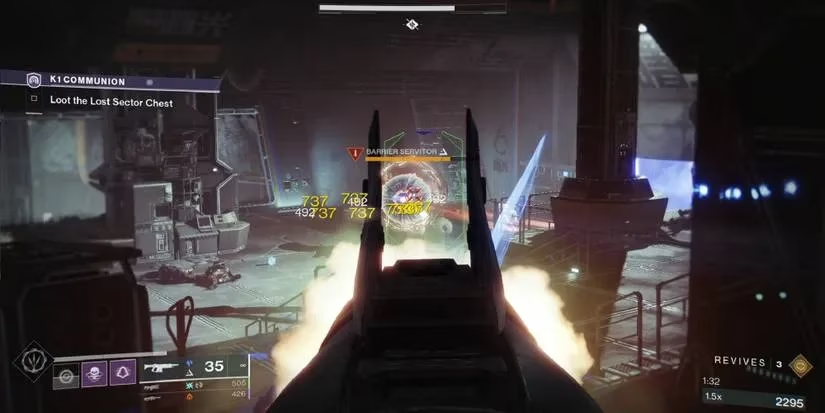
The facility is held by the Fallen, and a precise knowledge of what awaits saves ammo and sanity. In Legend difficulty, two Champion types guard the depths:
-
Barrier Servitors (3 total)
-
Overload Captains (2 total)
Alongside them, a variety of standard troops push relentlessly:
| Enemy Type | Notes |
|---|---|
| Nightmare Dreg | Tough, aggressive variants |
| Nightmare Wretch | High melee damage |
| Dreg, Wretch, Vandal | Trash mobs that overwhelm if ignored |
| Marauder | Invisible flankers |
| Servitor | Shields allies; priority target |
| Tracer Shank | Ranged pest |
| Exploder Shank | Suicide bombers in the final wave |
| Heavy Shank | Spawns before boss activation |
Boss: Nightmare of Rizaahn, The Lost – a massive Servitor with a segmented health bar, each segment triggering reinforcements.
The real nuisance is the combination of Barrier Servitors and Overload Captains. Servitors shield everything nearby, including the boss, making them immune to all damage. Captains, if not staggered, teleport relentlessly and regenerate health. The guide below tackles both efficiently.
🧰 Best Builds and Loadouts for 2026
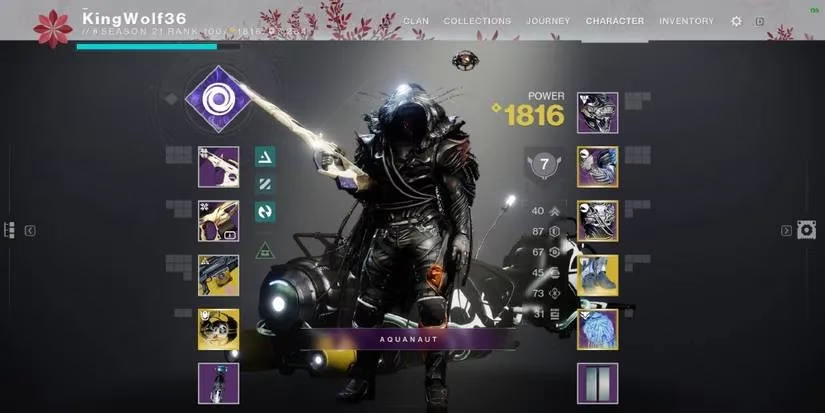
While sandbox shifts have brought new exotics, the subclass synergies outlined here have stood the test of time. Hunters and Warlock mains should lean into Void for invisibility and sustain; Titans can melt through everything with Solar hammers.
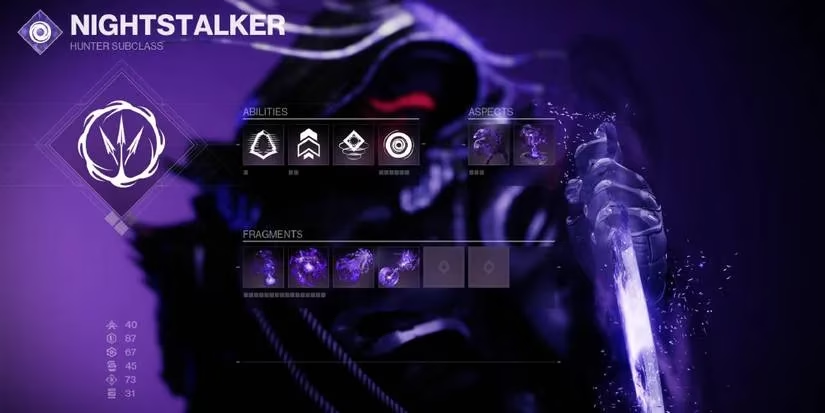
Hunter – Void (Nightstalker)
-
Super: Moebius Quiver – tethers enemy groups and boosts damage
-
Abilities: Gambler's Dodge, Triple Jump, Vortex Grenade, Snare Bomb
-
Aspects: Vanishing Step, Trapper's Ambush
-
Fragments: Echo of Obscurity, Echo of Expulsion, Echo of Exchange, Echo of Leeching
Exotic Armor: Orpheus Rig – adds one more arrow to Moebius Quiver, shortening the boss phase dramatically.
Gameplay loop: Go invisible to reposition, toss Snare Bombs to disorient groups, then unleash the tether on the Barrier Servitor in the final room. The Void breaches trigger healthy ability regeneration.
Titan – Solar (Sunbreaker)
-
Super: Hammer of Sol or Burning Maul (both work)
-
Abilities: Rally Barricade, Strafe Lift, Throwing Hammer, Solar Grenade
-
Aspects: Sol Invictus, Roaring Flames
-
Fragments: Ember of Resolve, Ember of Wonder, Ember of Solace, Ember of Singeing
A Titan can keep Roaring Flames stacked indefinitely, making every hammer strike a devastating blow. Rally Barricade provides reload boosts, and Ember of Resolve grants healing on grenade kills, essential for surviving the grenade spam in the boss arena.
Warlock – Void (Voidwalker)
-
Super: Nova Bomb (Cataclysm) for ad‑clear, or Slova for boss damage
-
Abilities: Healing Rift, Burst Glide, Pocket Singularity, Vortex Grenade
-
Aspects: Child of the Old Gods, Feed the Void
-
Fragments: Echo of Obscurity, Echo of Reprisal, Echo of Persistence, Echo of Leeching
The Child of the Old Gods provides healing and ability energy while weakening enemies—perfect for sustaining through long firefights. Combine with Vortex grenades to clear groups and trigger Devour.
🔫 Weapon Loadout
Matching shields is crucial. Solar and Void shields appear on many enemies, so each fireteam member should cover one element.
Kinetic Slot – Scout Rifle (Overload Captain stuns)
-
Top Pick: Transfiguration (kinetic with explosive payload)
-
Alternatives: Wicked Implement (Exotic, slows on precision hits), Pleiades Corrector (energy, but can be swapped if needed)
Energy Slot – Auto Rifle (Barrier Servitor breaks)
-
Top Pick: Reckless Oracle (Void auto, works with Volatile Rounds)
-
Alternatives: Centrifuse (Exotic), Positive Outlook (Void, Overload rounds if artifact mod active)
Power Slot – Machine Gun or Linear Fusion Rifle
-
Top Pick: Deterministic Chaos (Exotic Void MG, weakens on sustained fire)
-
Alternatives: Unwavering Duty (Solar MG), Storm Chaser (Arc Linear Fusion Rifle)
Avoid Rocket Launchers – the boss room has countless pillars and a glass window that block projectiles. A machine gun clears ads and chips away at the boss safely from the safe corridor (explained below).
🧭 How to Complete the Lost Sector
The journey to the boss is straightforward—follow the linear path while dispatching two Barrier Servitors and an Overload Captain. Most rooms offer chest‑high walls and glass barriers to break line of sight.
Before the boss fight, a third Overload Captain and a Heavy Shank await in the main arena. After they fall, the room’s lights shift red, and the nightmare begins. Immediately head back to the small entrance corridor. This cramped hallway becomes a guardian's sanctuary: no enemy will step inside, and the large window provides a clear view of the entire arena. Poke out to deal damage, retreat to heal.
Boss Encounter Mechanics
The boss's health bar is split into three segments. Depleting each section triggers a new wave of enemies:
-
First third: A mix of Dreg, Nightmare Dreg, Vandals, and Wretches. Stay mobile but use cover.
-
Second third: More of the same, but with increased grenade throwing. The Warlock’s Healing Rift or the Titan’s Rally Barricade shine here.
-
Final third: A Barrier Servitor spawns, along with a Nightmare Wretch and other elites. This Servitor makes the boss and all surrounding enemies immune. Every shot that doesn't break the Servitor's barrier is wasted.
The golden rule: drop everything and destroy the Barrier Servitor the moment it appears. A burst Super like Moebius Quiver or a Nova Bomb ends the threat instantly. If the team lacks heavy firepower, stun the Servitor with an auto rifle, kill the adds, then focus it down before it recovers.
Once the Servitor is gone, the boss becomes vulnerable. Target its eye core for precision damage, and watch for the Exploder Shanks that swarm the arena post‑death. A Void Hunter can go invisible and retreat to the safe corridor; a Warlock can drop a rift to tank the explosions. The key is never getting greedy. Health below 50% means it's time to duck out and wait for recovery, because a follow‑up grenade can end the run in an instant.
Final Tips for 2026
-
Patience over speed: Legend Lost Sectors in 2026 still punish recklessness. Even with power creep, the mechanics remain lethal.
-
Champion stuns: Bring both anti‑Barrier and anti‑Overload mods. No matter how strong your weapon, an unstunned Champion regenerates health faster than you can damage it.
-
Exotic choice: If Orpheus Rig isn't available, Graviton Forfeit for extended invisibility offers comparable survivability.
-
Fireteam coordination: Solo is possible but having one teammate draw aggro while another breaks the Barrier Servitor cuts the difficulty in half.
The K1 Communion Legend Lost Sector remains a brilliant test of loadout cohesion and tactical patience. With this guide, even newcomers can walk away with that coveted exclusive exotic drop, feeling like true conquerors of the Moon's darkest corners.
Comments